how to apply paint sealant on car is mostly about prep and patience, because the sealant itself is usually the easy part, getting the surface truly clean is where most DIY jobs go sideways.
If you have decent paint but it never stays glossy, water stops beading fast, or you keep seeing faint haze after “protecting” the finish, a paint sealant is often the missing step between washing and long-term protection.
This guide walks through what you need, how to tell if your paint is ready, and a practical process that works in a driveway, plus a few honest “don’t do this” notes that save time and frustration.
What paint sealant does (and what it does not)
Paint sealant is a synthetic protectant designed to bond to clear coat and add a slick, hydrophobic layer, it can help reduce oxidation, make washing easier, and keep gloss looking “fresh” longer than many traditional waxes.
It does not fix scratches, rock chips, or heavy water-spot etching, and it cannot compensate for dirty paint, if you lock contamination under it, you tend to get roughness and muted shine.
According to International Detailing Association (IDA), proper surface preparation is central to paint protection performance, which is detailer-speak for “clean it like you mean it,” before any protection step goes on.
Tools and products you will want before you start
You can keep this simple, but skipping the basics usually creates streaks or patchy durability, here is a realistic starter setup.
- Car shampoo (pH-balanced is a safe default)
- Two buckets with grit guards if you have them
- Microfiber wash mitt and several clean microfiber towels
- Iron remover (optional, helpful for rough paint)
- Clay bar or clay mitt plus clay lubricant
- Panel wipe (IPA mix or dedicated paint prep) to remove oils
- Foam or microfiber applicator pads
- Paint sealant (liquid or paste; spray sealants apply differently)
If you plan to polish, add a dual-action polisher and a light polish, but don’t feel forced, a lot of daily drivers just need decon plus sealant to look noticeably better.
Quick self-check: is your paint ready for sealant?
Before you learn how to apply paint sealant on car “correctly,” make sure you are not sealing in problems, this quick check takes two minutes and saves you an afternoon.
- Baggy test: put your hand in a thin plastic bag and lightly glide over the paint, if it feels gritty, you need decontamination (usually clay).
- Water behavior: if water sheets unevenly or clings in weird spots after a wash, oils or contamination may still be present.
- Visual: in bright shade or garage lighting, look for dull patches, haze, or obvious swirls, sealant will amplify whatever is underneath.
- Towel drag: after drying, if your microfiber “grabs,” the paint likely needs clay and a proper panel wipe.
If you just corrected the paint with polish, assume there are polishing oils on the surface and plan on a panel wipe, otherwise bonding can be weaker than you expect.
Prep steps that actually matter (wash, decon, and oil removal)
Most durability complaints come from rushed prep, so if you do nothing else, get these three steps right.
1) Wash thoroughly, then dry well
Use a proper wash, rinse often, and dry completely, water hiding around mirrors and trim tends to drip later and can streak fresh sealant.
2) Decontaminate if the paint feels rough
Iron remover helps with embedded brake dust and industrial fallout, clay removes bonded contamination that washing leaves behind. After claying, rinse or re-wash lightly, then dry again.
3) Strip oils so the sealant can bond
Use a panel wipe and a clean microfiber, work one panel at a time, this removes leftover road film, soap residue, and polishing oils.
- Tip: avoid applying in direct sun or on hot panels, many sealants flash too fast and become grabby.
How to apply paint sealant on car: the practical step-by-step
This is the part everyone expects to be complicated, but it is mostly about using less product than you think, and working in a consistent pattern.
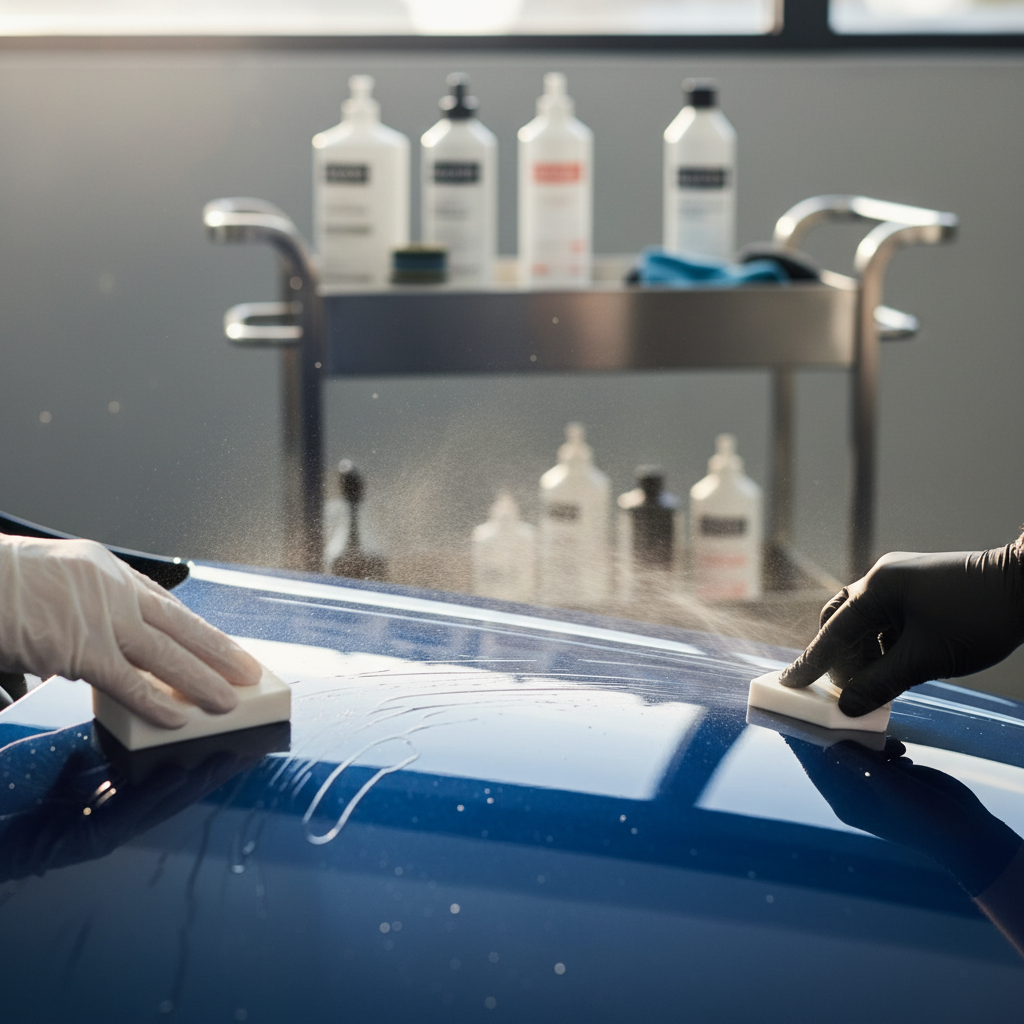
Step A: Choose the right environment
- Shade or garage is ideal, panel temperature “comfortable to touch” is a good rule.
- Moderate humidity helps, extreme heat or cold can cause streaking or slow curing.
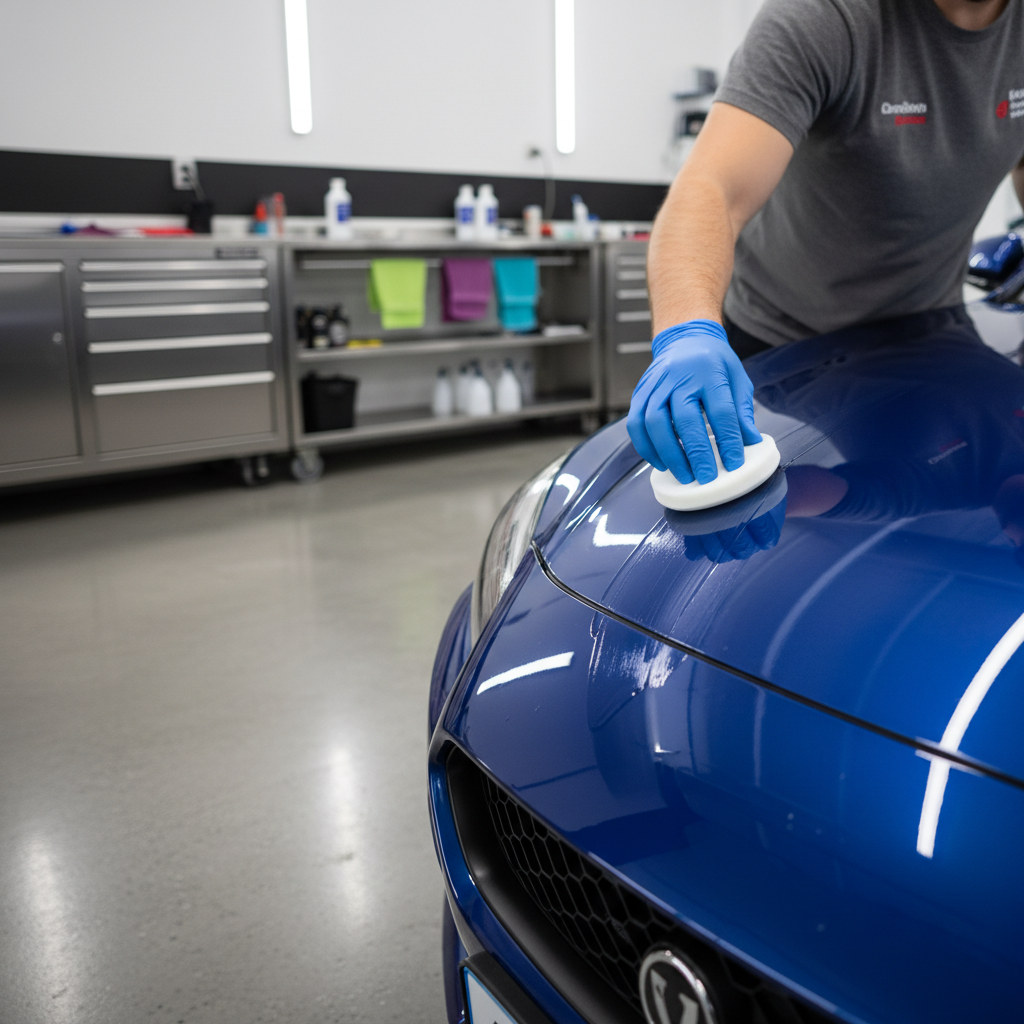
Step B: Prime your applicator and apply thin
Add a small amount of sealant to the applicator, then spread a thin, even coat on a single panel using overlapping passes, crosshatch patterns are easy to track and reduce missed spots.
- Hood: split into left and right halves if you are new.
- Doors/fenders: one panel at a time keeps removal predictable.
- Less is more: thick layers usually haze harder, then smear during wipe-off.
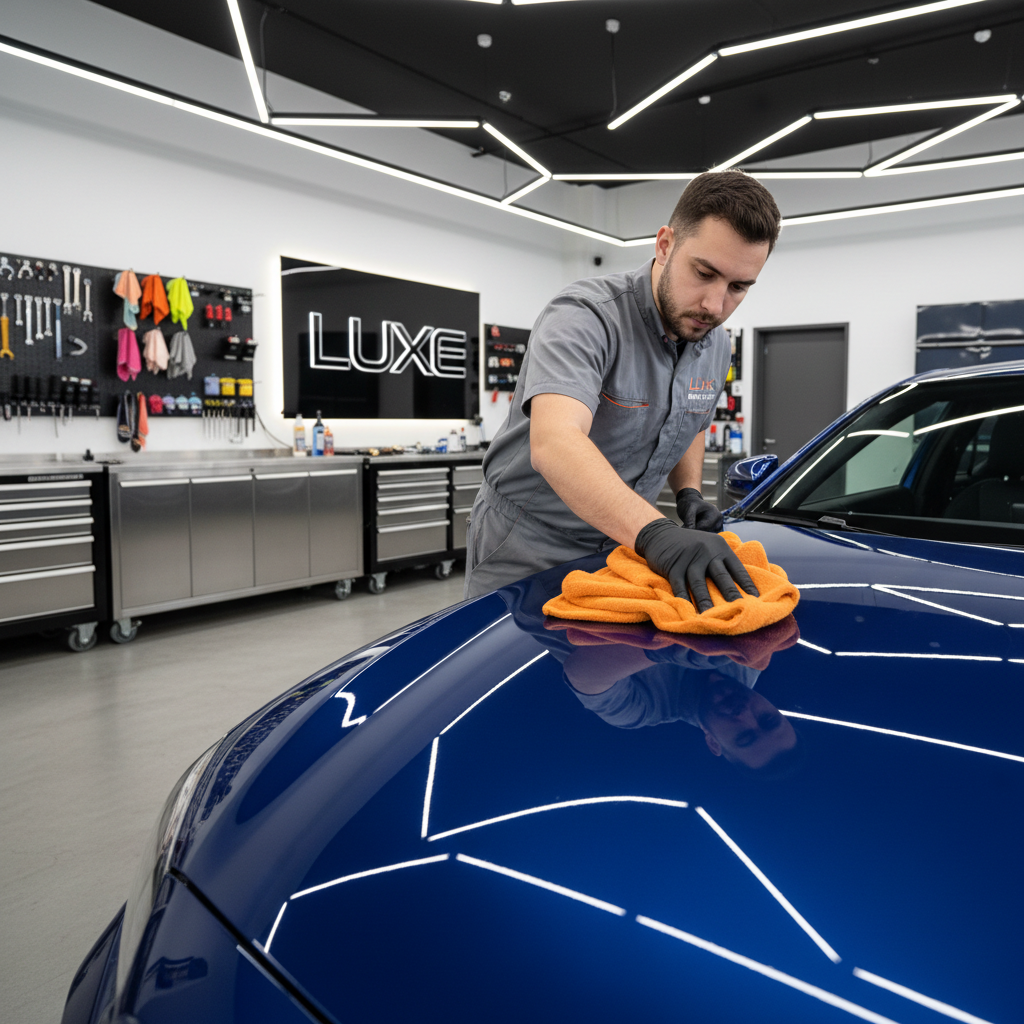
Step C: Respect the “set time,” then buff off
Every sealant is different, some wipe immediately, others want a short haze period, follow the label and do a small test spot if unsure. Buff with a clean microfiber, flip the towel often, and use a second towel for a final pass.
Step D: Optional second coat (only if your product supports it)
Some sealants benefit from a second coat after a recommended interval, others do not layer well, if the manufacturer warns against layering, believe them.
Curing, maintenance, and when to wash again
Fresh sealant needs time to set, and this is where a lot of people accidentally shorten durability by washing too early or parking under sprinklers.
- Keep it dry: many sealants prefer 8–24 hours without water contact, check the product directions.
- First wash timing: waiting a day is a safe habit unless the label says otherwise.
- Maintenance: use a gentle shampoo, avoid harsh degreasers unless you are intentionally stripping protection.
If you want the “just sealed” feel to last, a compatible spray topper can help between full applications, but don’t stack random products if you chase streak-free results.
Common mistakes that cause streaks, haze, or short durability
If you are frustrated, it is usually one of these, and the fix is straightforward once you spot the pattern.
- Applying too much product: thick coats are harder to buff and can smear, go thinner next time.
- Working on hot paint: sealant flashes too fast, then removal turns into wrestling.
- Skipping panel wipe: oils reduce bonding, durability drops, water behavior looks inconsistent.
- Using tired towels: saturated microfiber can redeposit product and create haze, swap towels sooner.
- Not decontaminating: the surface stays rough even after sealing, and you feel disappointed because it “should be slick.”
According to U.S. Environmental Protection Agency (EPA), many cleaning and detailing chemicals should be used with good ventilation and label-following for safe handling, which is a good reminder to keep airflow moving in a garage and avoid skin contact when products warn against it.
Table: What to do based on your car’s condition
Not every car needs the same level of prep, this table is a decent shortcut when you’re deciding how far to go.
| Paint condition | What you notice | Recommended steps |
|---|---|---|
| Newer / well-kept | Mostly glossy, minor roughness | Wash → light clay (if needed) → panel wipe → sealant |
| Daily driver, parked outside | Rough paint, water spots, dull areas | Wash → iron remover → clay → panel wipe → sealant |
| Swirled or hazy | Spiderwebs in sun, muted reflections | Wash → decon → polish (optional but helpful) → panel wipe → sealant |
| Just polished | Looks great but may have oils | Panel wipe (thorough) → sealant, avoid aggressive shampoos during cure |
When it makes sense to get professional help
If your paint has heavy oxidation, deep scratches, failing clear coat, or etched water spots that catch your fingernail, sealant won’t solve the underlying issue, and pushing harder can make it look worse.
In those cases, a reputable detailer can recommend paint correction or safer options, especially if you are unsure how thin your clear coat is. If you have a specialty finish or matte paint, check manufacturer guidance because many traditional sealants are not intended for matte surfaces.
Key takeaways for a clean, streak-free finish
- Prep is the job: wash, decontaminate when needed, and remove oils before sealing.
- Thin coat wins: easier wipe-off, fewer streaks, often better real-world results.
- Control conditions: shade and cool panels prevent most beginner headaches.
- Give it time: curing matters, keep water off if the label recommends it.
If you follow the steps above, you get the main benefit people chase when they ask how to apply paint sealant on car, a finish that stays slick longer and washes with less effort. Pick a weekend window with mild temps, do one careful pass, and if you want extra gloss, add a second coat only when your product supports it.
If you’re trying to keep the process low-stress, set up your towels and applicators first, work panel-by-panel, and stop the moment you see streaking, it’s usually a signal to use less product or switch to a fresh towel.
FAQ
How long does paint sealant last on a daily driver?
It depends on the product and how you wash, but many consumer sealants are designed for weeks to a few months, frequent harsh washes and constant sun exposure usually shorten that.
Can I apply paint sealant on a wet car?
Most traditional sealants want a dry surface for proper bonding, some modern “wet coat” products are exceptions, follow the label because the process changes.
Do I need to clay before using a sealant every time?
No, claying is for bonded contamination, if the paint feels smooth and your wash routine is solid, you may only need clay a few times a year.
What is the difference between a paint sealant and ceramic coating?
Sealants are typically easier and faster to apply, coatings can be more durable but are less forgiving about prep and technique, coatings also often require stricter curing conditions.
Why is my sealant streaking when I buff it off?
Common causes are too much product, hot paint, or a microfiber towel that is saturated, try applying thinner, moving to shade, and switching towels more often.
Can I put carnauba wax over a paint sealant?
Often you can, but results vary by product pairing, wax may reduce the sealant’s “crisp” feel and can change water behavior, if you love wax warmth, test on a small area first.
What should I avoid washing with after sealing?
Strong degreasers and heavy-duty detergents can strip protection faster, a gentle automotive shampoo is the safer bet unless you are intentionally removing the sealant.
If you’re working with limited shade, older paint, or you just want a more predictable result than trial-and-error, it may be worth using a sealant system that includes a dedicated prep spray and matched microfiber, you spend a bit more upfront but often waste less product and time.