How to remove snow from car safely starts with two priorities that matter more than speed: visibility for you and everyone around you, and avoiding damage to glass, paint, and wipers.
If you have ever “just brushed off the driver window” and headed out, you already know how quickly blowing snow can white-out your windshield at the first stoplight, or how an icy wiper can smear instead of clear. Beyond comfort, this is a road-safety issue, and in many places it can become a ticket issue too.
There is also a common misconception that “ice scraper equals safe.” Scraping the windshield helps, but safe snow removal usually means clearing more surfaces than people expect, and doing it in an order that keeps you from re-covering what you just cleaned.
This guide lays out a practical routine you can repeat in a few minutes, plus a quick decision checklist for heavy snow, ice storms, and frozen wipers.
Why safe snow removal matters (it is not just courtesy)
Snow left on the car is not static, it moves. When you accelerate, brake, or hit highway speed, that loose layer can slide forward onto your windshield or fly off like a sheet.
- Visibility risk: partial clearing creates blind spots at intersections and lane changes, especially on the passenger side and rear glass.
- Road hazard: snow from your roof can blow onto the car behind you, and chunks of ice can act like debris.
- Damage risk: aggressive scraping can scratch glass and paint, and running wipers on ice can tear rubber edges.
- Legal risk: rules vary by state and city, but many places treat uncleared snow or ice as an unsafe vehicle condition.
According to AAA, clearing snow and ice from all windows, mirrors, lights, and the roof helps prevent dangerous “snow missiles” and improves overall winter visibility.
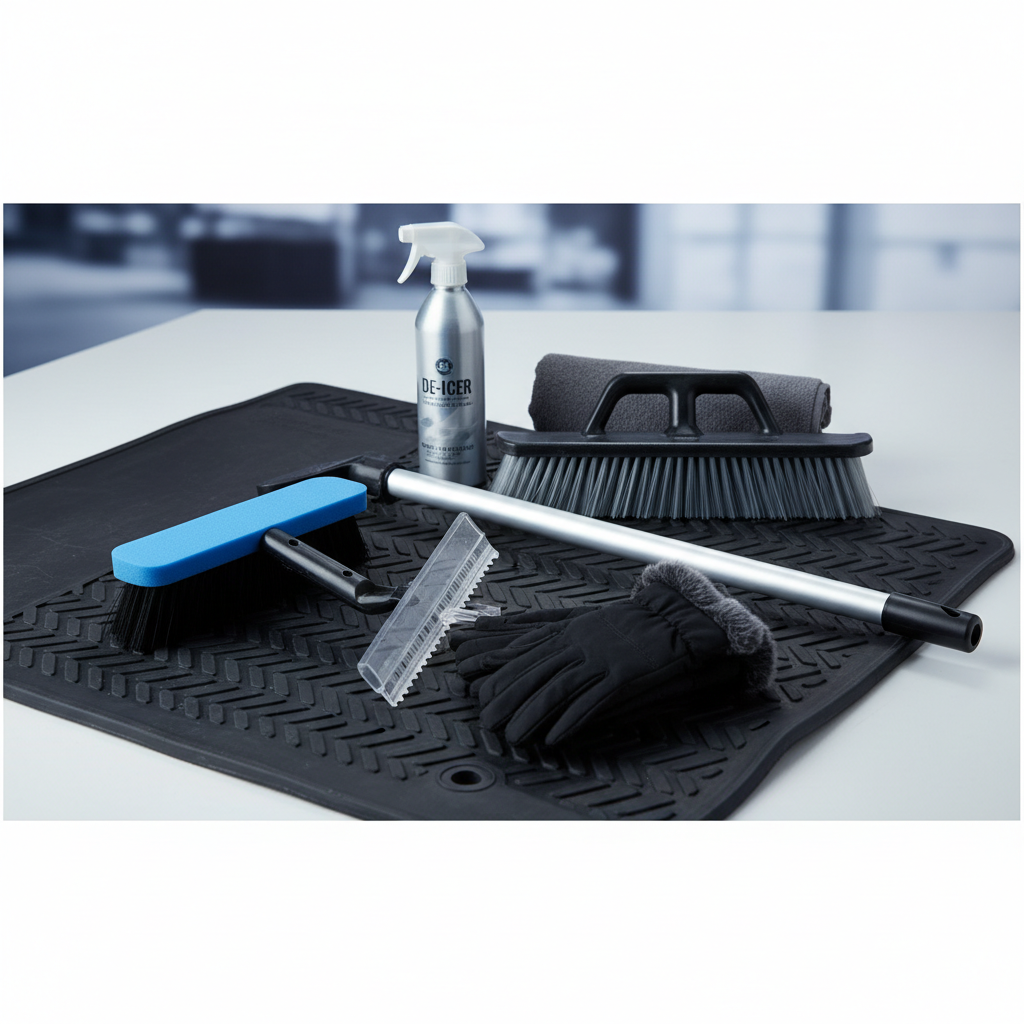
Gear that makes this easier (and what to skip)
You can remove snow with almost anything, but “almost” is where scratches and broken wiper blades come from. A small kit in the trunk saves time and keeps you from improvising with a shovel edge or kitchen spatula.
Recommended tools
- Snow brush with a foam head or soft bristles for paint-safe clearing.
- Ice scraper with a flat, sharp plastic edge (avoid metal edges).
- Extendable snow broom for SUVs and trucks, ideally with a pivoting head.
- De-icer spray for door seams, locks, and thin ice layers.
- Gloves with grip so you do not drop tools onto glass or paint.
- Microfiber towel for lights and cameras, gentle on plastic lenses.
Tools and “hacks” worth avoiding
- Metal scrapers or garden tools: easy to gouge glass and paint.
- Hot water on cold glass: thermal shock can crack windshields in some conditions.
- Credit cards: they can snap, and the edge can scratch tinted film.
If you are building a kit on a budget, prioritize a decent snow brush and a scraper that feels sturdy in your hand, flimsy edges chatter on ice and tempt you to press harder.
Quick self-check: what kind of snow are you dealing with?
Before you start, take ten seconds and identify what is actually on the car. The right approach depends on whether you have fluffy powder, wet snow, glaze ice, or refrozen slush.
- Light powder: brushes off easily, risk is mainly roof snow blowing off later.
- Wet snow: heavier, sticks to paint and lights, can turn to ice if you delay.
- Hard frost or glaze ice: needs scraper and de-icer, forcing it can scratch.
- Refrozen slush around wheels: can jam wheel wells, affect steering feel, and rub tires.
Also check two “hidden” items people miss: your headlights/taillights and your backup camera or driver-assist sensors. They are small, but they affect safety fast.
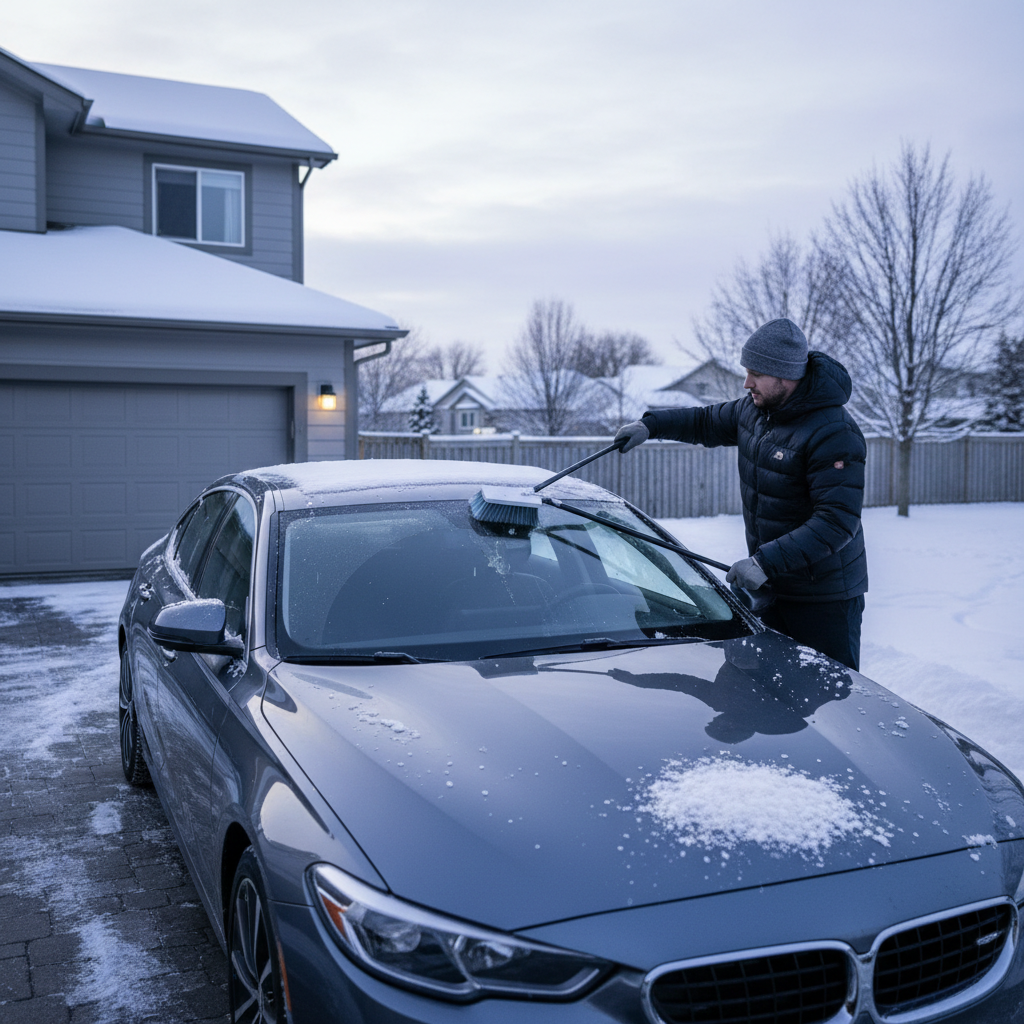
Step-by-step: how to remove snow from car safely (a repeatable order)
How to remove snow from car safely usually comes down to doing it top-down, then finishing with glass, lights, and the area around moving parts. This order helps you avoid dumping snow back onto cleared sections.
1) Start the car only if you can ventilate safely
If you start the engine to warm the cabin, make sure the tailpipe area is clear. According to the CDC, vehicle exhaust contains carbon monoxide, and snow blocking the tailpipe can increase the risk of CO buildup, especially if the car is enclosed or idling near snowbanks.
- Clear snow from around the tailpipe first.
- Crack a window slightly if you are waiting for heat, and avoid idling in enclosed spaces.
2) Clear the roof and hood before the windshield
Remove the biggest mass first. If you clean the windshield and then sweep the roof, you will re-cover the glass and get frustrated, many people do.
- Use long, gentle pulls with a snow broom, do not chop downward.
- For thick layers, skim the top off in passes rather than trying to push everything at once.
3) Windows and mirrors: full coverage, not a “peephole”
Clear all side windows, not just the driver window, and do not forget the small quarter glass if your car has it. Mirrors should be fully exposed and wiped clean.
- Brush loose snow first.
- Scrape ice second, using firm, even pressure.
- Use de-icer for stubborn edges instead of grinding at them.
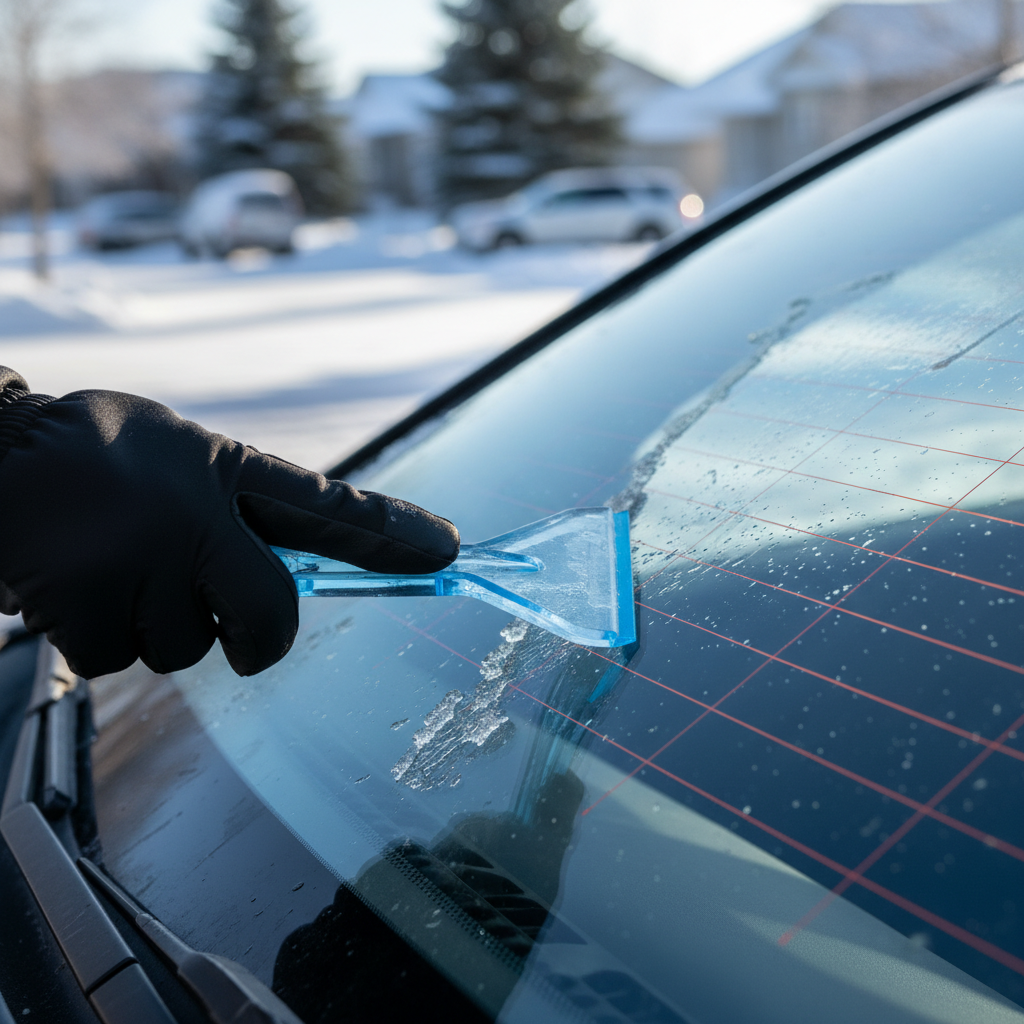
4) Windshield: brush, then scrape, then defrost
Brush off loose snow so the scraper edge touches ice, not grit. If you scrape over dirt, you increase the chance of micro-scratches that glare at night.
- Lift wipers only if conditions allow, some cars have wiper heaters or park positions that matter.
- Scrape in overlapping strokes, keep the blade flat against glass.
- Finish by running defrost to melt remaining film, then a final light scrape.
5) Lights, license plate, and cameras
Headlights and taillights can look “mostly clear” but still be dimmed by a thin layer of wet snow. Clear them completely, same for the license plate if your state requires visibility.
- Use a brush or microfiber towel, not the scraper edge, to avoid scratching plastic lenses.
- Wipe the backup camera lens and any visible sensors.
6) Wheel wells and door seals
Kick away packed snow around wheel wells only if you can do it safely without slipping, and avoid reaching near moving parts if the car is running. For frozen door seals, de-icer helps more than yanking.
Table: what to do for common winter scenarios
Different storms create different problems, this table keeps the response simple.
| Scenario | What usually works | What to avoid |
|---|---|---|
| Light powder on all surfaces | Brush roof, hood, trunk, then windows and lights | Skipping the roof because “it will blow off” |
| Wet snow turning to slush | Clear sooner, wipe lights and cameras, check wheel wells | Waiting until it refreezes into a harder layer |
| Glaze ice on windshield | De-icer + defrost + scraping in passes | Pouring hot water on cold glass |
| Frozen wipers stuck to glass | Defrost, gently free with de-icer, replace if torn | Forcing wipers up or running them dry on ice |
| Heavy roof load on SUV/truck | Extendable snow broom, clear in sections, keep balance | Climbing on icy running boards without stable footing |
Common mistakes that cause scratches, broken wipers, or worse visibility
Most problems come from being in a hurry, which is understandable, but a few habits consistently backfire.
- Scraping first without brushing: you drag grit across the glass and it can haze over time.
- Leaving the roof “for later”: it later becomes your windshield problem at the first brake tap.
- Using wipers as a snowplow: wiper motors and rubber edges are not built for packed snow.
- Forgetting the rear window: you lose visibility for reversing and lane changes.
- Clearing only what you can reach: on taller vehicles, an extendable tool is safer than overreaching.
If you keep getting stubborn ice, the fix is usually not “more force,” it is more time with defrost and a better de-icer, plus making sure you are not scraping frozen road grime.
Practical tips to make the next morning easier
This is the part people skip because it feels like extra work, but it often saves the most time.
- Lift wipers only when a storm is coming and your car allows it safely, check your owner’s manual for wiper service position.
- Use a windshield cover if you park outdoors regularly, especially in ice-prone areas.
- Park facing east when possible so morning sun helps soften frost, it is not magic, but it can reduce scraping time.
- Top off washer fluid with a winter blend rated for freezing temps.
- Keep a small brush inside the cabin so you can clear mirrors and cameras after a quick stop.
When you may want professional help (or at least a second opinion)
If you find cracked glass, wipers that chatter even after cleaning, or driver-assist warnings that persist after you clear sensors, it may be time to ask a shop to take a look. Windshield damage can spread in cold weather, and sensor calibration can be finicky after impacts or replacements.
Also, if you feel dizzy or nauseated while idling in snow conditions, stop the car and get fresh air, and consider contacting a professional. Carbon monoxide exposure can be serious, and it is not something to “wait out.”
Key takeaways you can follow tomorrow morning
- Clear the roof first, then work down to hood and trunk, then glass and lights.
- Brush before scraping so you do not grind grit into the windshield.
- Do not rely on wipers to remove packed snow or ice.
- Finish with lights, mirrors, and cameras because “mostly clear” often is not clear enough.
How to remove snow from car safely is less about a perfect technique and more about a consistent routine you repeat every time, even when you are running late. If you pick one change, make it the roof, that is where most preventable hazards start.
If you want a low-effort next step, build a small winter kit and keep it in the car so you are not improvising with whatever happens to be nearby.