How to change oil in a car for beginners comes down to three things: using the right oil, working safely under the vehicle, and not rushing the drain-and-refill steps.
If you feel unsure, you’re not alone, most first-timers worry about stripping the drain plug, using the wrong filter, or ending up with leaks on the driveway. The good news is an oil change is usually very manageable with basic tools and a calm, methodical approach.
This guide walks you through what to buy, how to confirm your specs, the exact steps that prevent messes, plus a quick checklist to decide whether DIY makes sense for your car today.
What you need before you start (and what beginners often forget)
Most oil change problems happen before the car is even lifted, wrong oil, missing tools, or no plan for used oil. Gather everything first, then start.
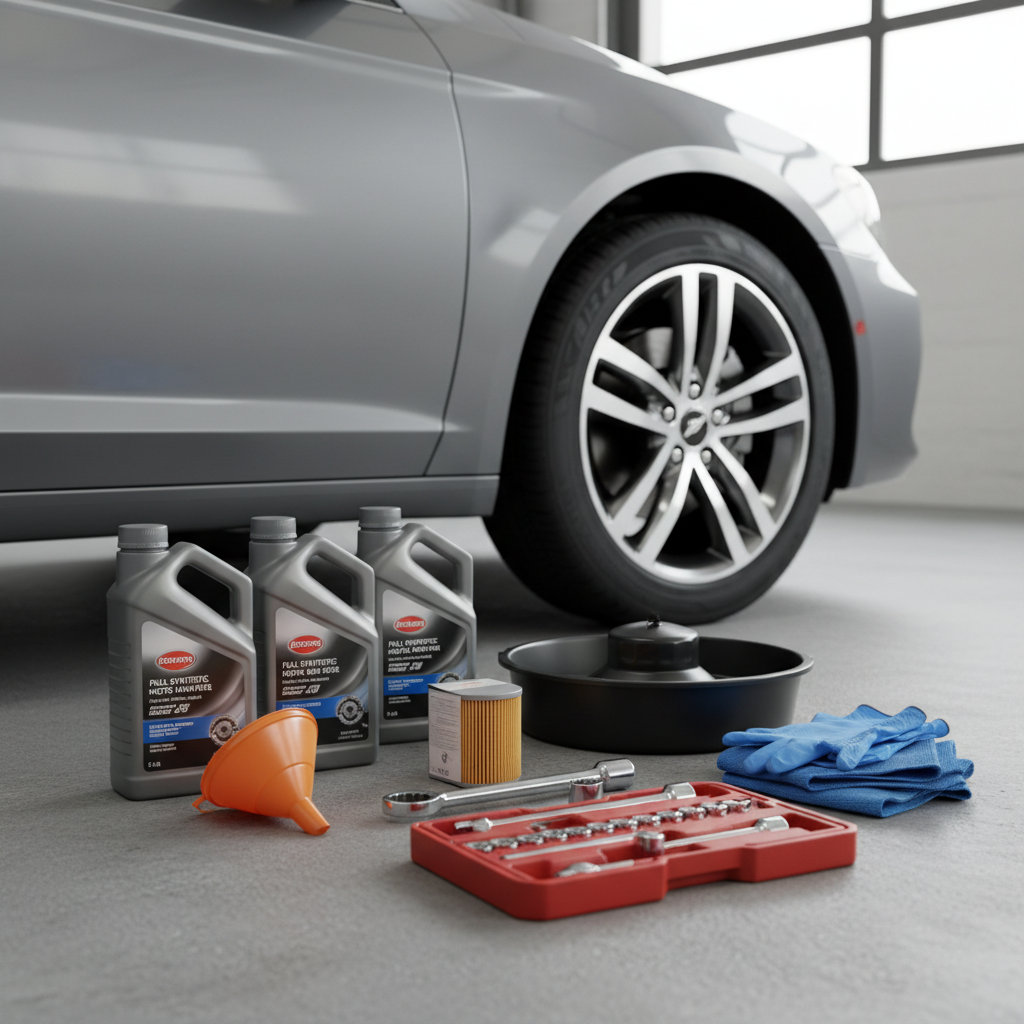
Basic supplies
- Correct engine oil (right viscosity and spec for your vehicle)
- New oil filter (specific to your engine)
- Drain pan (large enough for your oil capacity)
- Socket or wrench for the drain plug
- Oil filter wrench (helpful if the filter is tight)
- Funnel, shop towels, nitrile gloves
- Jack and jack stands or ramps (never rely on the jack alone)
Two “small” items that save a lot of frustration
- Replacement crush washer (if your drain plug uses one), a worn washer can cause slow leaks.
- Cardboard or absorbent mat under the drain area, especially if you’re new and working slowly.
Quick self-check: is DIY a good idea for your situation?
DIY is great when access is reasonable and you can work safely. But some cars make a first oil change harder than it needs to be.
- You’re a good DIY candidate if: you have flat ground, can lift the car safely, and the filter/drain plug are reachable without removing multiple panels.
- Consider a shop if: you only have a sloped driveway, your car sits very low, you can’t identify the drain plug confidently, or you suspect an existing leak.
According to NHTSA, using proper jack stands and following safe lifting practices helps reduce injury risk when working under a vehicle. If that part feels sketchy, it’s a sign to pause and get help.
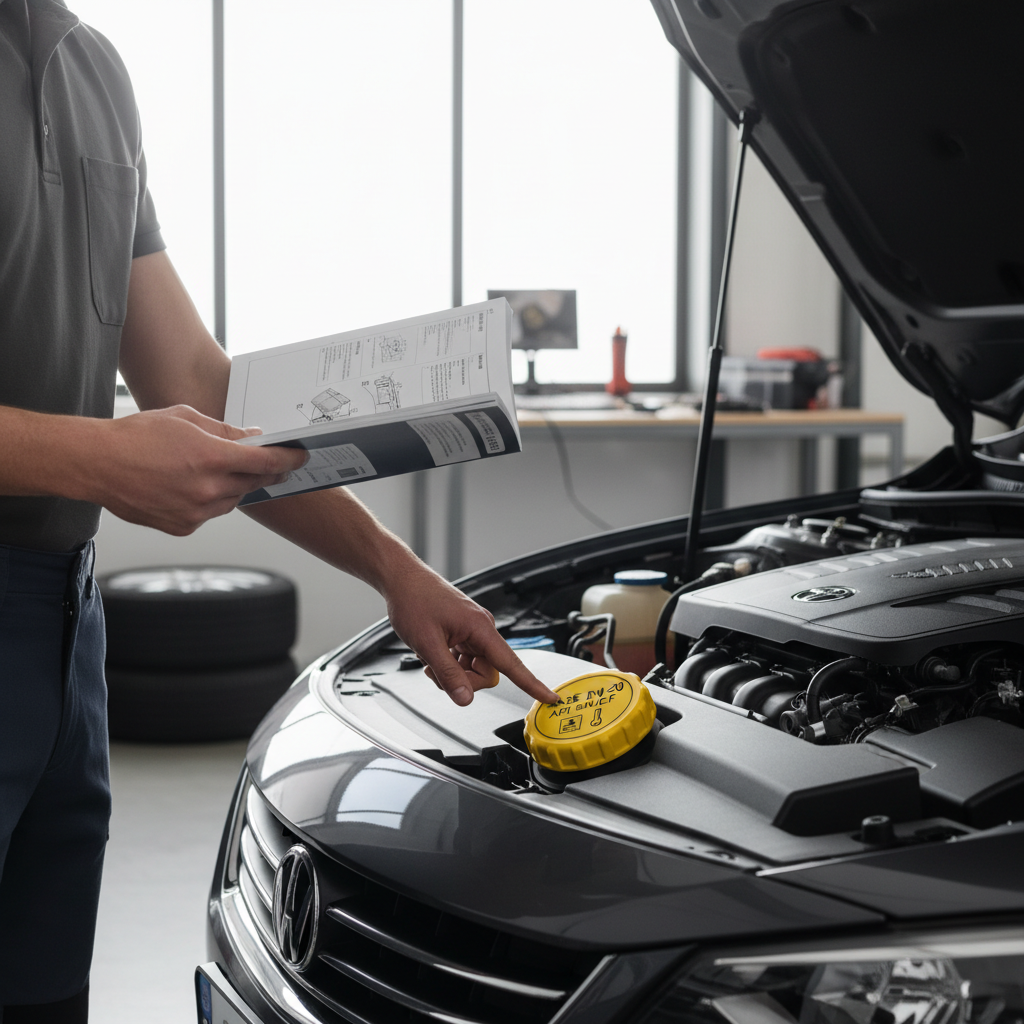
Find the right oil, capacity, and filter (don’t guess)
Beginners tend to grab “whatever oil is on sale,” but modern engines can be picky. Your owner’s manual or the oil cap is the fastest reality check.
| What to confirm | Where to look | Why it matters |
|---|---|---|
| Viscosity (e.g., 0W-20, 5W-30) | Owner’s manual, oil cap | Wrong viscosity can affect cold starts and protection |
| Oil spec (API/SP, ILSAC, ACEA, OEM spec) | Manual and oil bottle label | Specs relate to additives and engine requirements |
| Oil capacity (with filter) | Manual, service info | Helps prevent overfill or underfill |
| Correct filter part number | Manual, parts lookup, store catalog | Wrong filter can leak or not seal |
If you’re stuck between two choices, match the manual first. If the manual lists multiple viscosities, pick the one for your typical temperatures, and if you’re unsure, a local mechanic or parts counter can usually sanity-check your selection quickly.
Step-by-step: how to change oil without making a mess
This is the “do it in order” section. If you follow the sequence, the job tends to go smoothly.
1) Warm the oil slightly, then shut down
Run the engine for a few minutes so the oil flows easier, then turn the car off. You want warm, not scorching hot, because hot oil can burn skin.
2) Park on level ground and secure the car
- Set the parking brake, put the vehicle in Park (or in gear for manual).
- Chock the wheels.
- Lift with a jack only at approved points, then support with jack stands or use ramps.
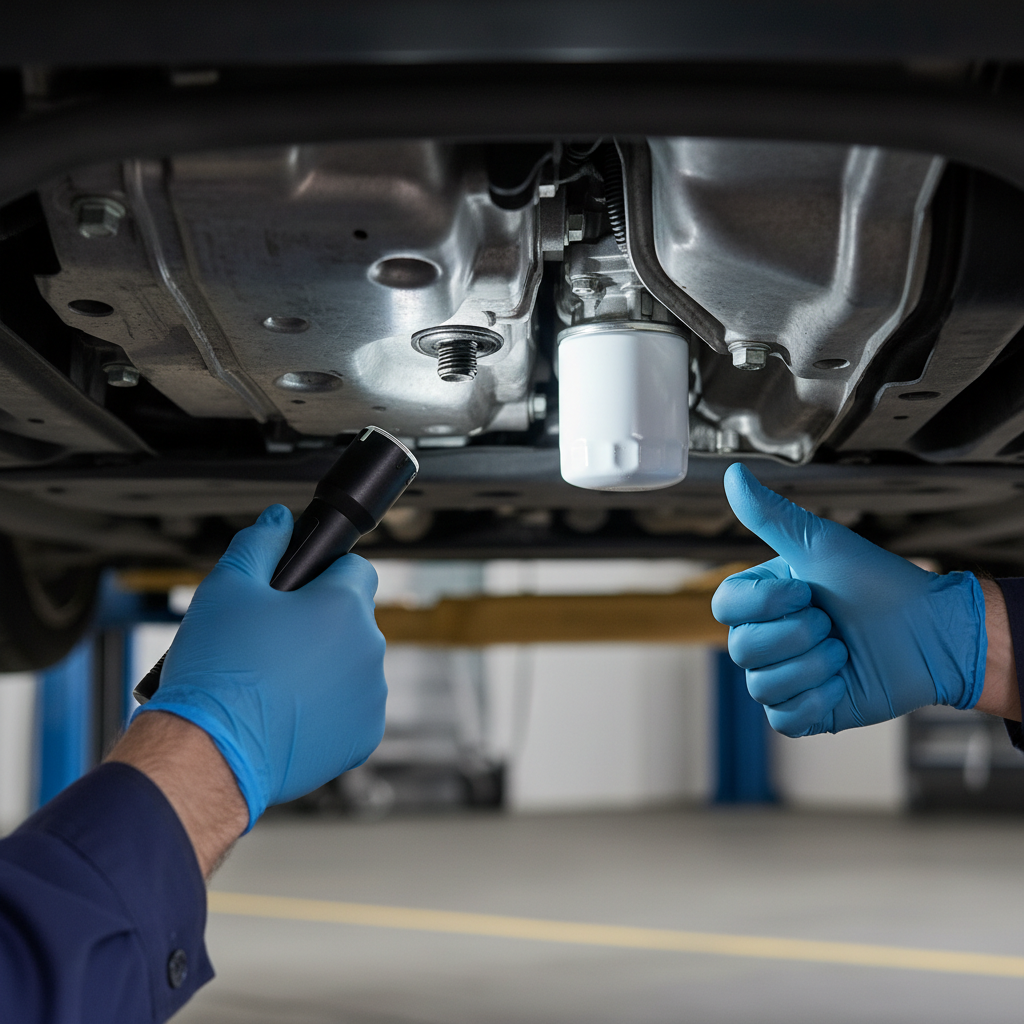
3) Locate the drain plug and oil filter
Take a beat here. Many beginners confuse a transmission pan bolt or undertray fastener with the oil drain plug. If you’re not sure, stop and look up a diagram for your exact model.
4) Drain the old oil
- Place the drain pan under the plug, slightly behind the plug, the stream often shoots outward at first.
- Loosen the drain plug carefully, then remove by hand.
- Let it drain until it slows to an occasional drip.
5) Remove and replace the oil filter
- Move the drain pan under the filter, it usually spills.
- Remove the old filter. Check that the old rubber gasket didn’t stick to the engine surface.
- Lightly oil the new filter gasket with fresh oil, then spin on by hand until it seats, and tighten per filter instructions.
6) Reinstall the drain plug (this is where people overdo it)
Wipe the area clean, install a new crush washer if needed, and tighten the plug to the manufacturer torque spec if you have a torque wrench. Over-tightening can strip threads or crack the pan, under-tightening can leak.
7) Refill with the correct amount, then verify
- Add about 80–90% of the listed capacity.
- Wait a minute, check the dipstick, then top off gradually.
- Start the engine for 30–60 seconds, shut it down, wait a couple minutes, then check dipstick again.
Key point: when people search how to change oil in a car for beginners, the real pain often is overfilling. Add slowly near the end, the dipstick is your friend.
After the change: leak check, reset reminders, and clean disposal
Don’t skip the “wrap-up,” it’s what separates a clean DIY oil change from a stressful one.
- Look for leaks around the drain plug and filter after the engine runs.
- Recheck the level after a short drive and a few minutes of rest on level ground.
- Reset the oil life monitor if your car has one, the procedure varies by model.
For used oil, store it in a sealed container and bring it to a local recycling center or auto parts store that accepts it. According to EPA, used oil should be properly recycled and not poured onto the ground or into drains.
Common beginner mistakes (and how to avoid them)
- Forgetting the drain plug: if you refill before reinstalling it, you’ll dump fresh oil on the floor. Put the plug back as soon as draining finishes.
- Double-gasketing the filter: the old gasket stuck to the engine, then the new filter seals poorly and leaks.
- Over-tightening: people crank hard “to be safe,” but this is how threads get damaged.
- Wrong oil spec: viscosity may match, but the spec may not, especially on newer turbo engines.
- Not checking level after running: the filter fills, the level changes, and you may end up low.
When it’s smarter to get professional help
DIY is satisfying, but there are times a shop is the safer call. If you see metal flakes in the drained oil, smell strong fuel in the oil, notice milky residue under the cap, or the drain plug feels like it won’t snug up normally, stop and consider a professional inspection. Those can be signs of a larger issue, and guessing can get expensive.
If your vehicle is under warranty and you do your own service, keep receipts and notes. In many cases it’s fine, but documentation helps if questions come up later.
Conclusion: your first oil change can be calm and clean
Once you confirm the correct oil and filter, lift the car safely, and take your time with the drain plug and gasket surfaces, the rest is pretty straightforward. The best next step is simple: pull your owner’s manual, buy the right supplies, and give yourself an extra 30 minutes for the first attempt so you never feel rushed.
If you want an easy win, do a quick post-change routine every time: check for leaks, recheck the dipstick after a short drive, then recycle the used oil properly.