how to replace car turn signal bulb is usually a quick DIY job, but it turns into a headache when you buy the wrong bulb size, can’t reach the socket, or a “fast blink” keeps happening after you swap it.
Turn signals are small parts with big consequences, you want other drivers to understand your next move, and in many states a non-working signal can also lead to an avoidable ticket. The good news is most bulbs are accessible with basic tools, as long as you approach it like a small inspection, not a random parts swap.
This guide helps you figure out what failed, choose the right replacement, and install it without breaking tabs or creating electrical issues. I’ll also call out the situations where it’s smarter to stop and get help.
What usually causes a turn signal bulb to fail (and why it matters)
Most people assume it’s “just a dead bulb,” but signals can fail for a few different reasons, and the fix changes depending on the cause.
- Burned-out filament (halogen/incandescent): the classic failure, bulb looks dark or the filament is broken.
- LED replacement mismatch: LEDs draw less power, which can trigger hyperflashing unless the car is designed for LED or you add the correct load solution.
- Bad socket or corrosion: moisture in the housing can corrode terminals, the bulb may work intermittently when you tap the lens.
- Blown fuse or relay issue: both signals on one side or all signals may stop, or hazards act weird.
- Wiring or ground problem: less common, but you’ll see odd dimming, flicker, or multiple lights affecting each other.
According to NHTSA, signaling and lighting are basic safety equipment that help reduce misunderstandings between drivers, so it’s worth treating a turn signal issue as a real safety fix, not cosmetic maintenance.
Quick self-check: identify your turn signal problem in 3 minutes
Before you buy anything, do a fast diagnosis. It saves you from returning parts and chasing the wrong fix.
Checklist
- Does the indicator blink fast on the dash? Often a burned-out bulb on that side, or an LED swap without proper resistance.
- Does the signal work on one side but not the other? Commonly a bulb or socket issue.
- Do both front and rear on the same side fail? Could be fuse, relay, or wiring, though sometimes it’s still a single shared circuit issue.
- Do hazard lights work but turn signals don’t (or vice versa)? This can point to a relay, switch, or body control module behavior, varies by vehicle.
- Any water in the lens or fogging? Expect corrosion, plan to clean contacts and check seals.
Key takeaway: If only one corner is out and everything else is normal, you’re probably looking at a straightforward bulb replacement.
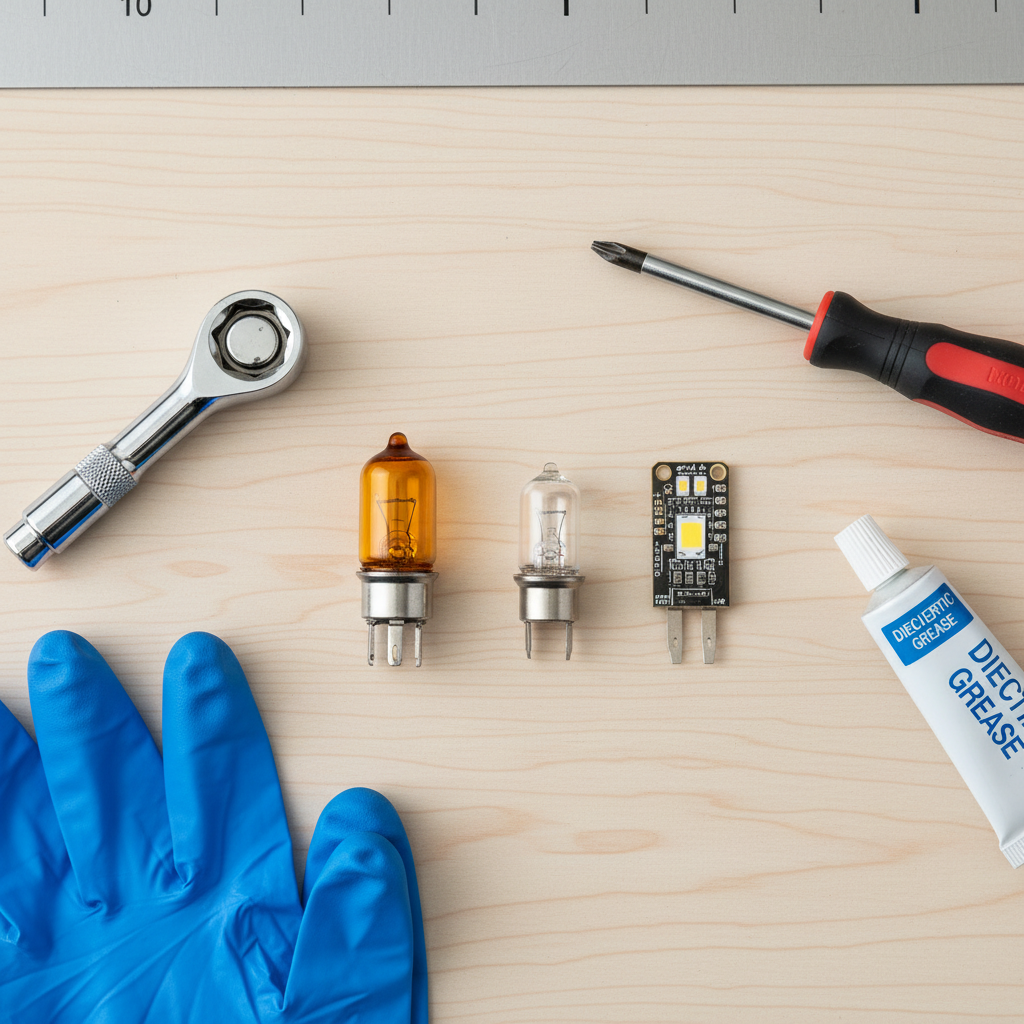
Tools and parts you’ll likely need
You can often do this with what you already have. The “must-have” list depends on whether your signal is in the headlight housing, bumper, mirror, or rear lamp.
- Owner’s manual or bulb fit guide (to confirm bulb type)
- Gloves (to keep oils off halogen glass and protect your hands)
- Small flathead screwdriver or trim tool (for clips, if needed)
- 10mm socket/ratchet or Phillips screwdriver (common fasteners)
- Dielectric grease (optional, helpful in wet climates)
- Shop towel and a small brush (for dirty sockets)
If you’re upgrading to LED, double-check your vehicle’s requirements. Many cars need a compatible LED system, a relay change, or resistors to prevent hyperflash, and the “right” approach varies by model year.
How to replace a car turn signal bulb: step-by-step (front or rear)
This is the core process for how to replace car turn signal bulb in most vehicles. The access path is what changes: some cars let you reach behind the housing, others require removing a few screws or pulling the lamp assembly.
1) Confirm the correct bulb
- Check the owner’s manual bulb chart, or the part number printed on the old bulb.
- Match base type and color (many turn signals require amber output even if the bulb glass is clear).
2) Power off and create safe access
- Turn the car off, set the parking brake.
- For front bulbs, turning the steering wheel outward can create space through the wheel well access panel, if your car uses that route.
- If you need to remove the lamp assembly, place fasteners in a small tray so you don’t lose them.
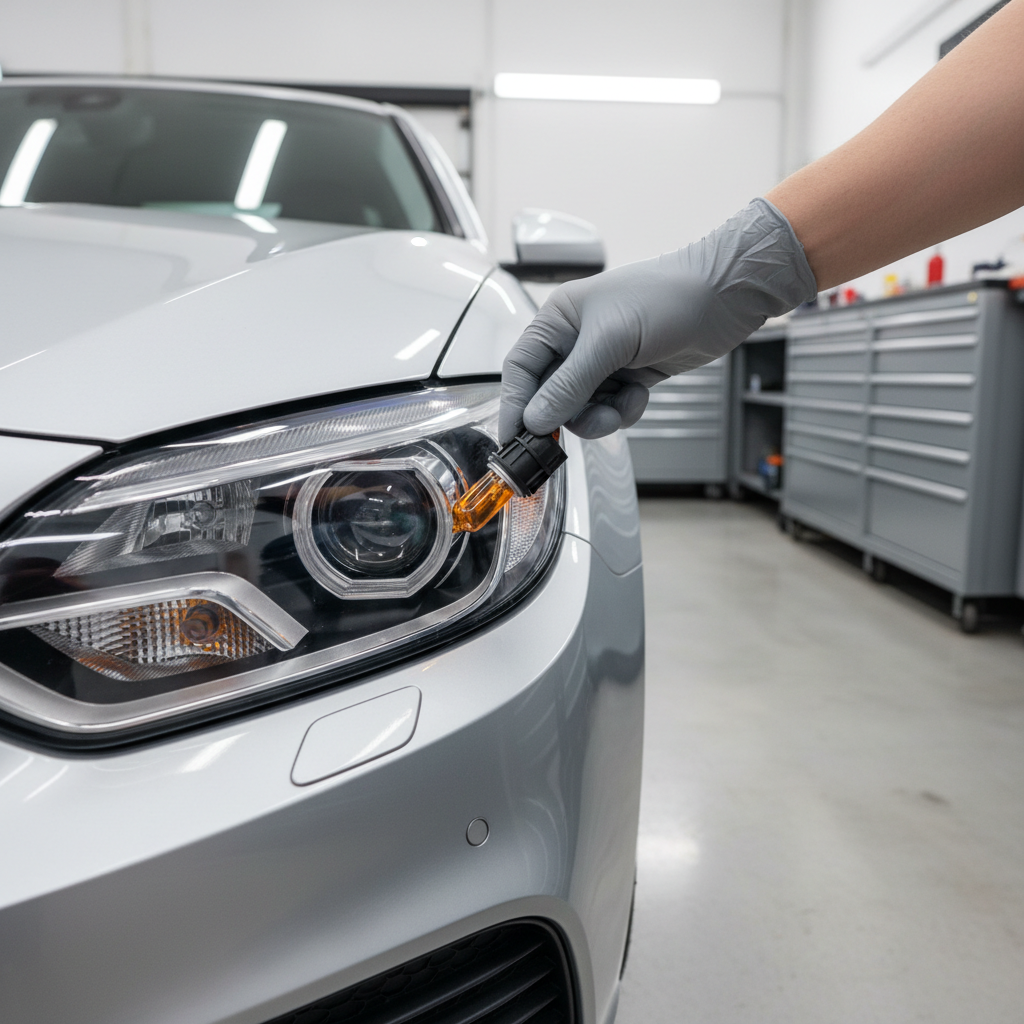
3) Remove the socket, not the wires
- Reach behind the housing and locate the turn signal socket.
- Twist the socket (usually about a quarter-turn) and pull it straight out.
- Don’t yank the wiring harness, if it’s stuck, re-check the twist direction and any locking tabs.
4) Swap the bulb correctly
- Push-and-twist bulbs: press in gently, rotate, then pull out.
- Wedge bulbs: pull straight out, push straight in.
- If it’s halogen, avoid touching the glass with bare fingers, oils can shorten lifespan.
5) Inspect the socket and seals
- Look for green/white corrosion, melting, or loose terminals.
- If there’s light corrosion, clean carefully and consider a small amount of dielectric grease on the connector side, not smeared on the bulb glass.
- If the socket looks heat-damaged, replacing the bulb may not last, you may need a new pigtail/socket.
6) Test before reassembly
- Turn on the signal and hazards, confirm normal blink rate and brightness.
- Check both front and rear on that side, and verify the dash indicator matches.
Once it checks out, reinstall the socket and any trim panels, then re-test. It sounds redundant, but it’s the easiest way to catch a loose connection before you button everything up.
Troubleshooting: if it still blinks fast, doesn’t light, or throws a warning
After you replace the bulb, problems usually fall into a few patterns. Here’s a practical table to narrow it down.
| Symptom | Likely cause | What to try next |
|---|---|---|
| Fast blink (hyperflash) after LED install | Load mismatch | Use a vehicle-specific LED solution, compatible relay, or properly mounted resistors (heat risk) |
| New bulb doesn’t light | Wrong bulb type, bad socket contact, blown fuse | Verify part number, inspect terminals, check the fuse box diagram |
| Intermittent operation | Corrosion, loose connector, failing ground | Clean contacts, reseat connectors, inspect ground points if accessible |
| Moisture inside lens | Seal leak or cracked housing | Dry and reseal/replace housing, otherwise corrosion returns |
| Warning message on dash | Bulb-out monitoring, LED incompatibility | Use CANbus-compatible LEDs where applicable or revert to OEM-type bulb |
According to SAE International standards work around vehicle lighting aims for consistent brightness and signaling performance, so if your replacement changes color or intensity, it’s worth rechecking legality and visibility for your state and vehicle application.
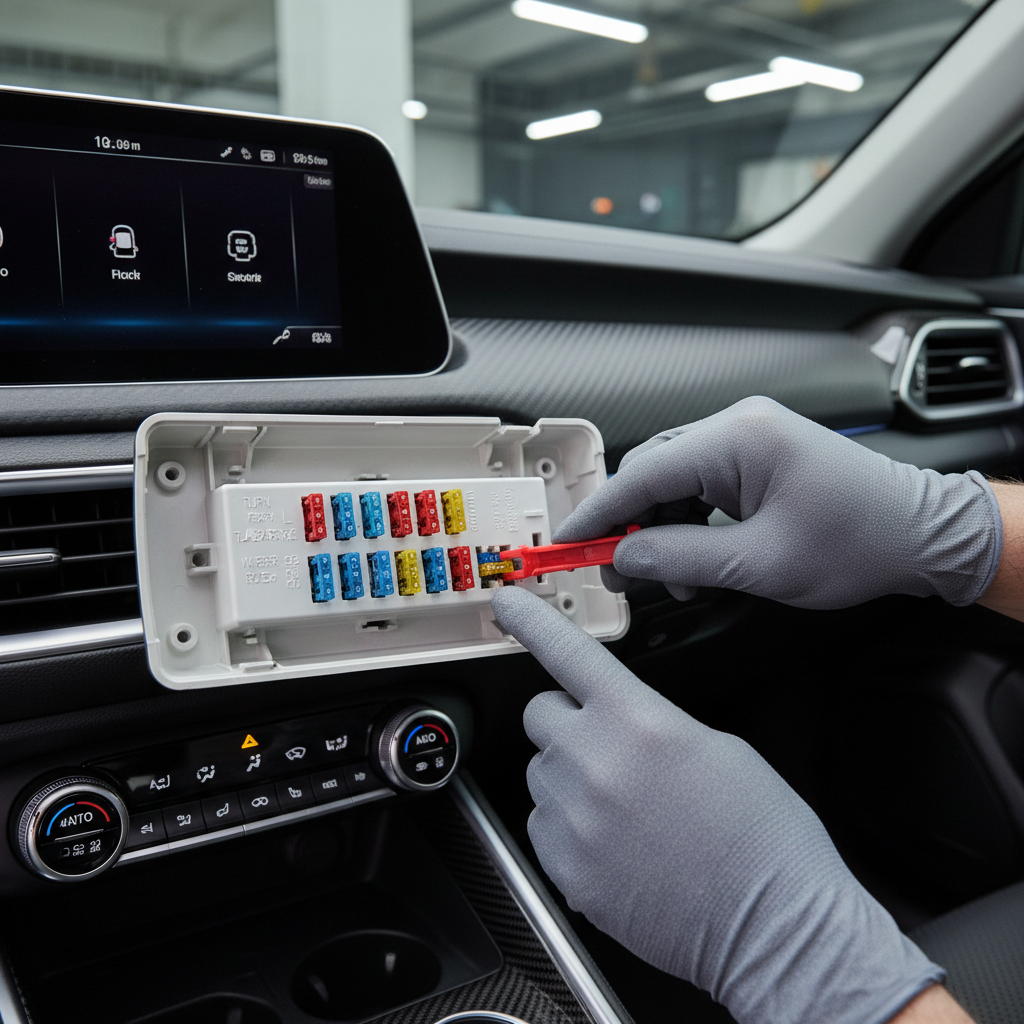
If both front and rear on one side are out and the bulb swap did nothing, checking the fuse is a reasonable next step, but if you’re unsure about electrical diagnosis, a shop can usually trace it quickly.
Mistakes that waste time (or break parts)
- Buying “close enough” bulbs: similar-looking bases can seat but not connect correctly.
- Touching halogen glass: can lead to early failure, use gloves or a clean towel.
- Forcing the housing clips: many lamp assemblies use brittle tabs, especially on older cars, slow pressure beats brute force.
- Ignoring moisture: if water is inside the lens, the new bulb may fail again and the socket may corrode.
- Adding resistors without heat planning: load resistors can get hot, mounting and placement matter, if you’re not confident, skip DIY here.
When it’s time to seek professional help
Replacing a bulb is fair game for most drivers, but there are a few lines where DIY becomes guessy or risky.
- You replaced the bulb and multiple lights behave strangely (shared ground or module issue possible).
- There’s melted plastic at the socket or burnt wiring smell.
- Your vehicle uses sealed LED modules (no replaceable bulb), repair may require replacing the whole lamp unit.
- You see repeated fuse blowing, that can indicate a short circuit, and diagnosis needs proper tools.
If your car is under warranty or uses a body control module for lighting, it’s often cheaper long-term to get a correct diagnosis than to keep swapping parts.
Conclusion: a simple fix, as long as you verify the cause
Most turn signal failures come down to a basic bulb swap, and once you confirm the right bulb type and a clean socket, the job is typically quick. The real trick is not rushing the diagnosis, especially if you’ve changed to LEDs or you’re seeing hyperflash, moisture, or warnings.
Action steps: verify which corner is out, match the bulb number from the old bulb or manual, test the signal before reassembly, then keep an eye out for moisture that could bring the problem back.
FAQ
- How long does it take to replace a turn signal bulb?
Many vehicles take 10–30 minutes per bulb if access is from behind the housing, but tight engine bays or lamp assembly removal can push it longer. - Why is my turn signal blinking fast after I replaced the bulb?
Fast blinking often indicates the car thinks a bulb is out, if you installed an LED, the lower power draw commonly triggers hyperflash unless the system is designed for it. - Do I need to disconnect the battery to replace a turn signal bulb?
Usually not for a simple bulb swap, but if you’re working near exposed wiring, damaged sockets, or you feel unsure, disconnecting the negative terminal can reduce risk. - Can I replace an amber turn signal bulb with a white LED?
In many cases you still need amber light output for legal and visibility reasons, even if the lens looks clear, check your housing and local requirements before changing color. - What if the new bulb still doesn’t work but the other side does?
That points to a socket contact issue, corrosion, or a wiring problem on that corner, compare the socket condition side-to-side and check the fuse if the circuit suggests it. - Is it normal for the bulb socket to be hard to twist out?
It can be, especially if dirt or heat makes the gasket stick, apply steady pressure, confirm you’re turning the correct direction, and avoid pulling on the wires. - Do I have to replace both turn signal bulbs at the same time?
Not required, but if one incandescent bulb failed and the other is original, many people replace both for consistent brightness and fewer repeat repairs.
If you’re working on a vehicle with tight access, sealed LED assemblies, or you want an easier route than trial-and-error parts matching, a local mechanic or auto-electric specialist can usually confirm the failure point quickly and keep you from buying the wrong components.