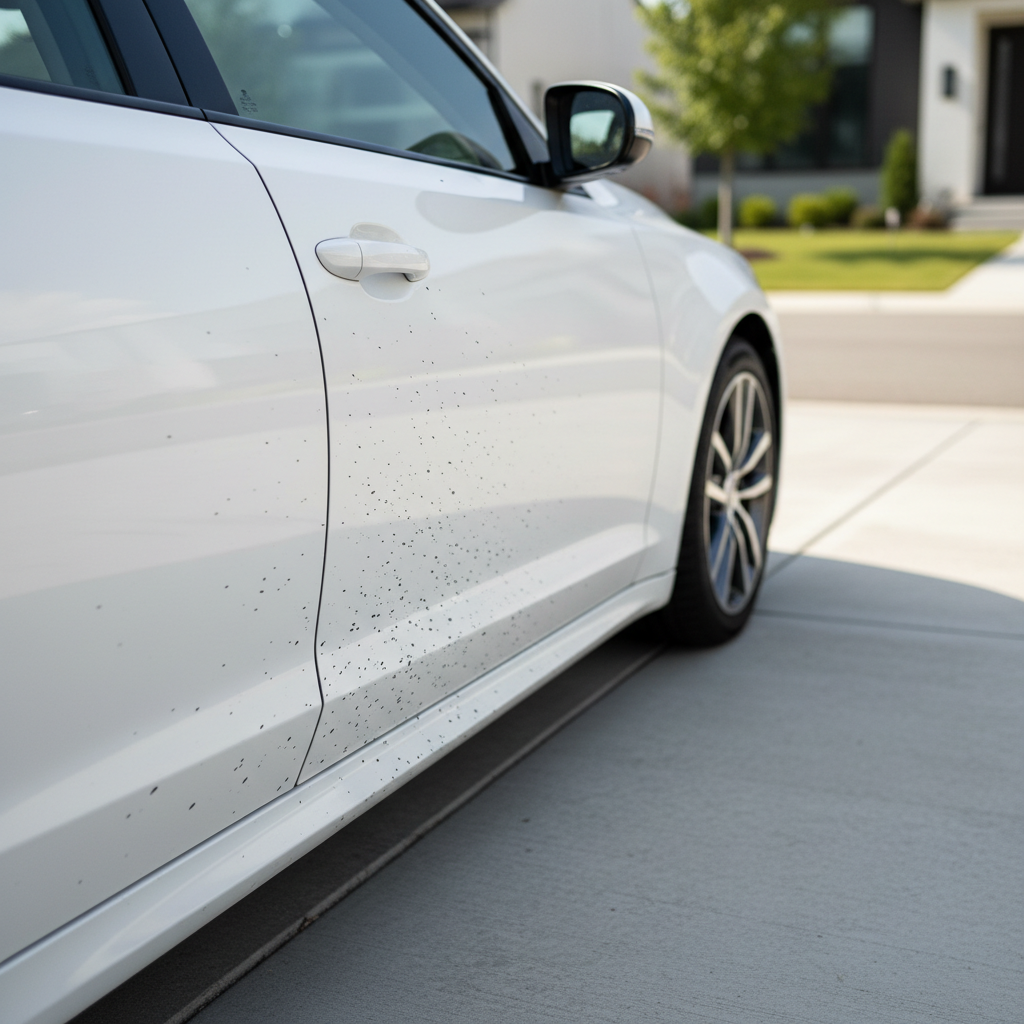
How to remove car road tar from lower doors comes down to two things, softening the tar without harming clear coat, and lifting it off with the right tool before you grind it into the paint.
If you drive in the U.S., especially through fresh asphalt repairs, summer heat, or construction detours, tar on the lower doors is almost inevitable. It looks ugly, but the bigger issue is that aggressive scrubbing can leave micro-scratches and haze that are harder to fix than the tar itself.
This guide walks you through what works in real driveways: which products are usually safe, how to test first, how to clean without smearing, and what to do when the spots are stubborn. You’ll also see a quick decision table so you can pick a method that matches your situation instead of trying random hacks.
Why tar sticks to lower doors (and why it gets worse if you wait)
Road tar is basically softened asphalt mixed with oils and grit. Your tires throw it outward, wind pushes it backward, and the lower doors catch it like a catcher’s mitt. Once it lands, it bonds tighter as it cools and dries.
Waiting usually makes removal harder for three reasons: it cures and firms up, it grabs more dust, and it can stain the surface film on your paint. That’s why the “I’ll wash it later” approach often ends with heavier chemicals or more rubbing than you wanted.
One more practical note: tar on the bottom panels often sits near rocker seams and drainage areas, so product overspray can run into crevices. That doesn’t mean you can’t clean it, it just means you should use controlled application and rinse well.
Quick check: What kind of tar situation do you have?
Before you start, do a fast assessment. The goal is to choose the mildest effective method and avoid steps that create extra work.
- Fresh, soft specks (sticky, slightly shiny): usually lifts with dedicated tar remover and a microfiber.
- Older, hardened dots (dry, matte, stuck): often needs dwell time, repeat passes, or a clay bar after chemical softening.
- Heavy smears or thick blobs: requires careful softening, possibly plastic razor use, and more thorough wash afterward.
- Matte wrap, PPF, or fresh paintwork: use extra caution, test spots matter more, and it may be smart to ask the installer/body shop what they recommend.
Method chooser (use this table)
| Situation | Best first choice | What to avoid |
|---|---|---|
| Light dots, recent drive | Tar remover + microfiber | Dry scrubbing, rough sponges |
| Hardened dots | Tar remover dwell + repeat, then clay | Clay on dry paint, skipping lubrication |
| Thick blobs | Softening + plastic razor (gentle) + re-clean | Metal blades, aggressive compounds first |
| Wrapped / matte finish | Wrap-safe citrus cleaner (test) + soft towel | Strong solvents without a test spot |
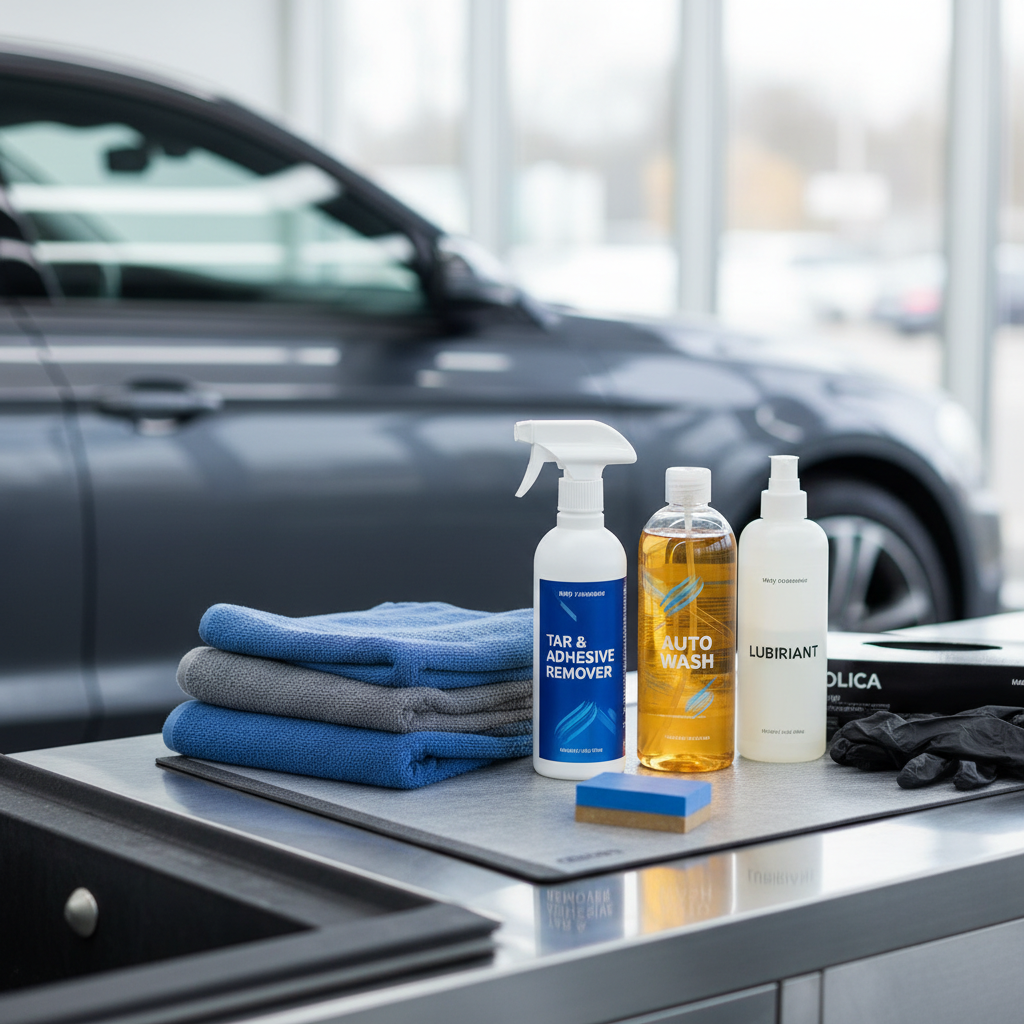
What you’ll need (keep it simple, but specific)
You don’t need a shelf of detailing products, but you do need the right “contact surfaces” so you’re not grinding grit into clear coat.
- pH-balanced car shampoo and a wash mitt
- Dedicated tar remover (spray or gel) or a citrus-based adhesive remover labeled paint-safe
- 2–4 clean microfiber towels (you’ll rotate sides; tar loads them quickly)
- Detail spray or clay lubricant (if you plan to clay)
- Clay bar or synthetic clay mitt (optional, for bonded residue)
- Nitrile gloves and good ventilation if you’re using solvent-based products
According to the U.S. Environmental Protection Agency (EPA), many household and automotive solvents release fumes and should be used with adequate ventilation and appropriate protective equipment, especially in enclosed garages.
Step-by-step: The safe driveway process that usually works
How to remove car road tar from lower doors safely is less about muscle and more about sequencing: wash first, soften second, wipe third, then re-wash and protect.
1) Start with a normal wash (don’t skip it)
Wash the panels normally to remove loose grit. If you go straight to tar remover on a dirty door, you’re more likely to drag sand across the paint while wiping.
- Work in shade when possible, hot panels can make chemicals flash-dry too fast.
- Rinse thoroughly, especially along the lower seam where grime collects.
2) Do a small test spot
Pick a lower, less visible area. Apply the product, wait the label’s suggested time, then wipe. You’re watching for hazing, discoloration, or sticky residue that won’t rinse.
If anything looks off, stop and switch to a milder product, or consider a professional detailer, especially on wraps, repainted panels, or older single-stage paint.
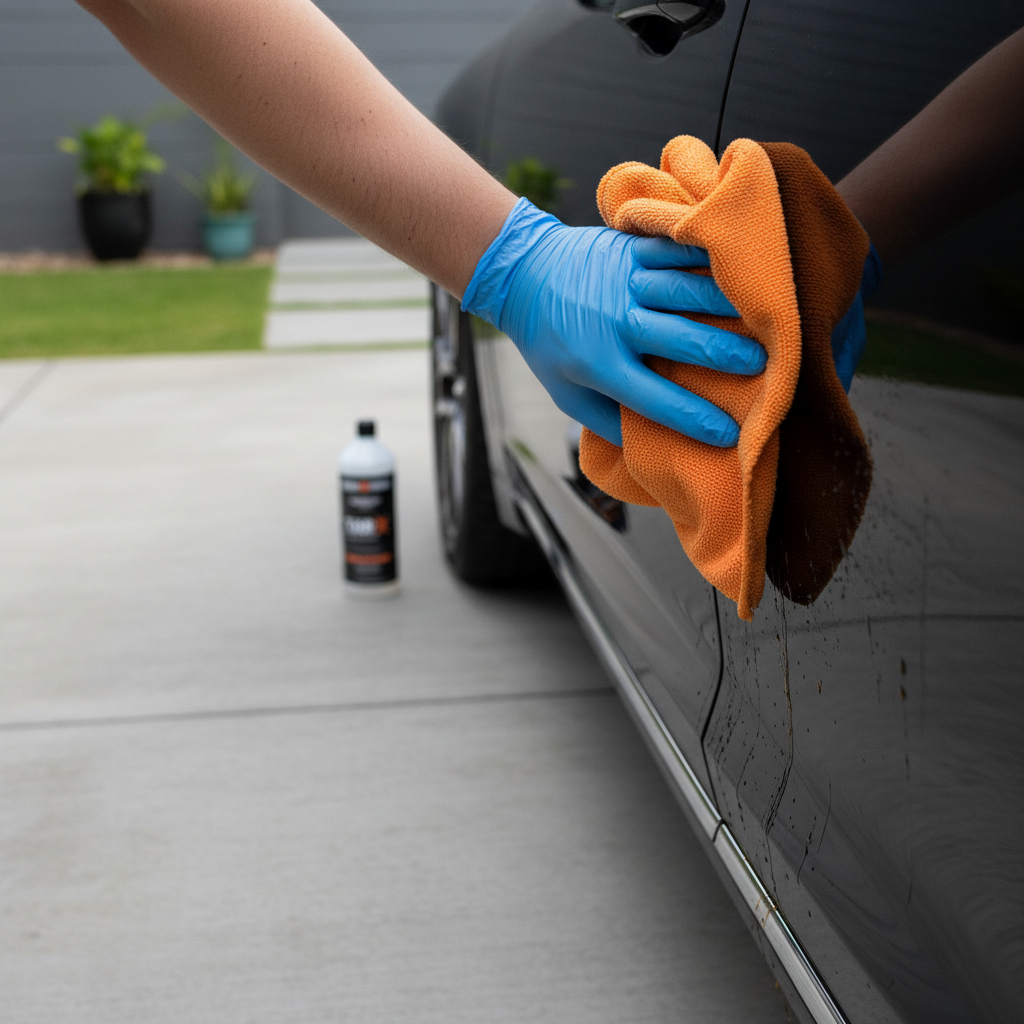
3) Apply tar remover with control, then let it dwell
Spray onto a microfiber towel first if you want maximum control around trim and seams, or spray directly if the label recommends it and you can contain overspray.
- Let it dwell long enough to soften tar, but don’t let it dry on the surface.
- Use light pressure, wipe in one direction, and flip the towel often.
- For clusters of dots, you’ll usually need two passes rather than one aggressive wipe.
4) For stubborn dots: clay after softening, not before
If you still feel little bumps after chemical removal, that’s bonded residue. Clay works well here, but only with plenty of lubrication.
- Spray lubricant generously, glide clay with almost no pressure.
- Check clay frequently, fold or knead it to expose a clean surface.
- If you drop clay on the ground, toss it, grit embedded in clay can scratch.
5) Re-wash or at least rinse, then dry
Many tar removers leave an oily film. A quick re-wash of the lower doors, or a strong rinse followed by shampoo on that section, helps prevent streaks and makes protection adhere better.
6) Add protection (this is what makes next time easier)
Wax, sealant, or a ceramic spray won’t make your paint immune, but it often reduces how strongly grime bonds. Future cleanups become more like “wipe off” than “fight it.”
When tar is really thick: removing blobs without scratching
Thick tar blobs are where people panic and reach for a harsh pad. Don’t. Your paint is softer than you think, and the lower doors already get sandblasted by road debris.
- Soften longer: apply tar remover, cover with a damp microfiber laid over the spot to slow evaporation, then check again.
- Lift, don’t scrape: if needed, use a plastic razor blade or plastic card edge at a shallow angle, only after softening.
- Wipe residue immediately: tar can smear, swap to a clean towel side before it spreads.
If the blob area turns dull after removal, it may be leftover residue, or it may be micro-marring from earlier attempts. Often a light polish fixes it, but if you’re unsure, a detailer can evaluate quickly and avoid thinning clear coat with repeated DIY polishing.
Common mistakes that cause scratches, haze, or endless smearing
A lot of “tar remover doesn’t work” complaints are really process issues. The product matters, but technique usually matters more.
- Rubbing on a dry panel: even clean-looking paint can have grit, lubrication and a pre-wash reduce marring risk.
- Using the same towel section too long: once microfiber loads with tar, it starts smearing.
- Letting solvent dry: dried product can streak and may irritate trim, keep it wet, work smaller areas.
- Household strong solvents by default: some can soften plastics, stain trim, or stress clear coat, especially if left too long.
- Skipping re-wash: oily residue can trap dust and make the lower doors look dirty again fast.
Key takeaways (so you don’t overthink it)
- Wash first, then soften tar with a paint-safe remover, then wipe gently.
- Use dwell time and multiple passes instead of pressure.
- Clay is helpful for bonded residue, but only with proper lubrication.
- Finish with protection so the next cleanup feels easier.
When it’s smarter to get professional help
How to remove car road tar from lower doors is usually a straightforward DIY job, but a pro can save you money when the risk of damage is high.
- You see dull patches, streaking that won’t wash off, or obvious scratches after trying to remove tar.
- The vehicle has matte paint, a wrap, PPF, or fresh bodywork and you can’t confirm chemical compatibility.
- Tar is mixed with heavy industrial fallout, rail dust, or overspray, and the surface feels gritty everywhere.
If fumes, skin irritation, or dizziness occur while using chemicals, stop, move to fresh air, and consider medical advice if symptoms persist. Many products are safe when used as directed, but people vary in sensitivity.
Wrap-up: a clean lower door without sacrificing your paint
Tar removal goes smoothly when you treat it like adhesive removal, not stain removal, soften, lift, and clean up the film afterward. If you do that, the lower doors usually come back to glossy with minimal effort.
If you want one simple next step, wash the car, spot-treat the lower doors with a dedicated tar remover, then add a quick spray sealant. That combination tends to cut future cleanup time a lot.
FAQ
What removes road tar from car paint without damaging it?
In many cases, a dedicated automotive tar remover or a citrus-based adhesive remover labeled paint-safe works well. The “without damaging” part depends on dwell time, not letting it dry, and wiping with clean microfiber rather than scrubbing.
Can I use WD-40 to remove tar on lower doors?
Some people use it because it can soften sticky residue, but it often leaves an oily film that attracts dust and needs a thorough re-wash. If you try it, test a small area first and plan to wash the panel afterward so the surface is not left slick.
Does rubbing alcohol remove asphalt tar?
Isopropyl alcohol can help with light residues, but tar is often too heavy for alcohol alone. It’s more useful as a final wipe for leftover film after the tar is mostly gone, and you still want to avoid soaking trim or letting it sit too long.
How long should tar remover sit on the paint?
Follow the label, because formulas vary. Practically, you want enough time to soften tar, but not so long that the product dries. If it starts to flash-dry, work a smaller area and reapply as needed.
Should I clay bar before or after using tar remover?
After, in most situations. Tar remover breaks down the sticky material so the clay is dealing with small bonded particles, not grabbing thick adhesive. That usually reduces marring risk and makes claying faster.
Why do I still see shadowy stains after tar removal?
It might be leftover oily film, embedded contamination, or light micro-scratches that catch the light. Try re-washing that section and inspecting in different lighting; if it still looks dull, a light polish may help, but use caution on thin paint.
Is it safe to use a magic eraser on tar spots?
Usually not a great idea on automotive clear coat. Magic erasers are abrasive and can haze paint, especially on darker colors. A chemical softening step plus microfiber is typically safer.
How do I prevent tar from sticking to the lower doors again?
You can’t prevent every spot, but protection helps. A wax, sealant, ceramic spray, or PPF on high-impact areas often reduces bonding, and washing sooner after highway construction drives makes removal easier.
If you’re removing tar often, or you want a more hands-off routine, consider keeping a small “lower-door kit” in your garage: a paint-safe tar remover, a couple dedicated microfibers, and a simple spray sealant, it’s usually enough to handle fresh spots before they turn into a weekend project.