How to clean car engine bay with degreaser is mostly about controlling water, choosing the right product, and protecting the parts that hate moisture.
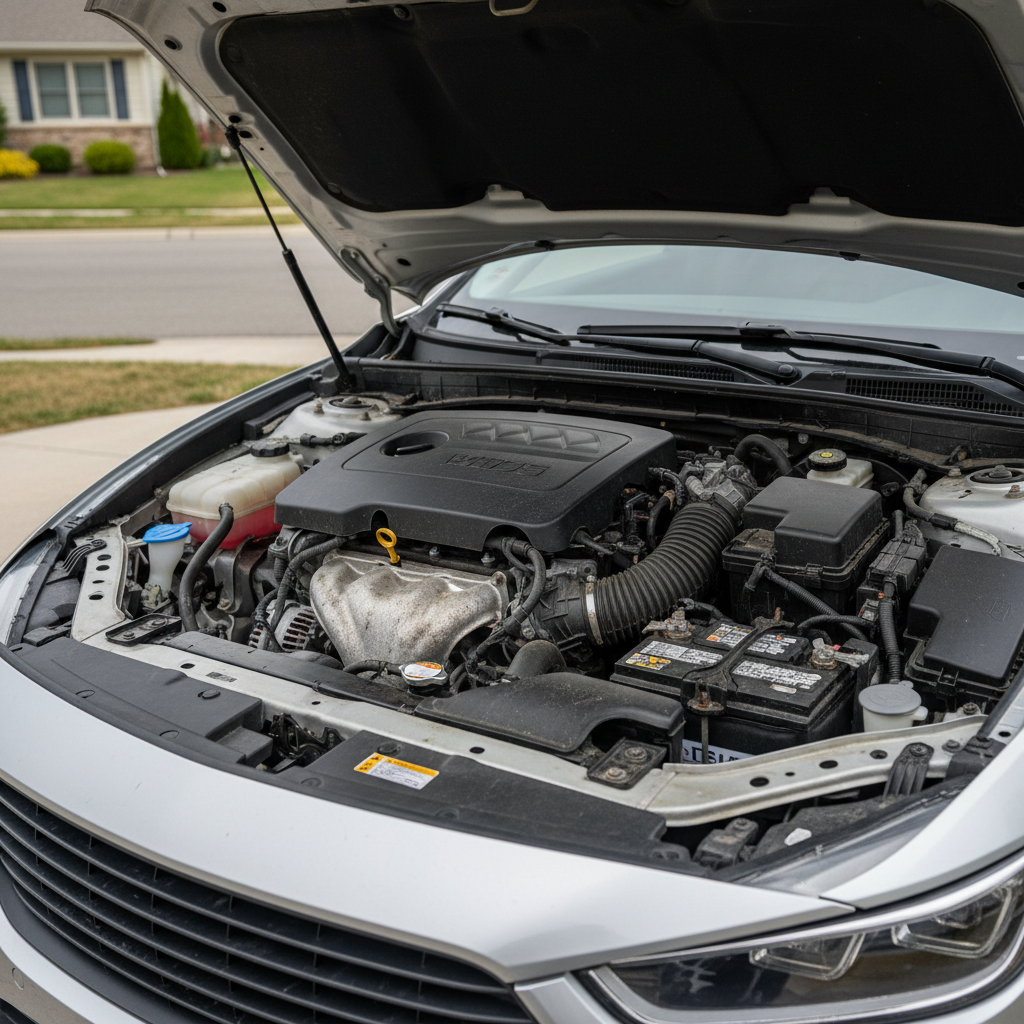
If you’ve ever popped the hood, seen oily dust baked onto plastic covers, and thought “one wrong move and I’m buying sensors,” you’re not being dramatic, modern engine bays pack a lot of electronics.
This guide stays practical: what to cover, what to avoid, how to rinse without flooding anything, and when it’s smarter to stop and ask a pro.
Why engine bay degreasing can go wrong (and how to keep it low-risk)
Degreaser works because it breaks the bond between oil and surfaces, but the problems usually come from what happens next: overspray, pooling liquid, and aggressive rinsing.
- Water intrusion: connectors, coil packs, and fuse boxes don’t love being soaked, a light mist is very different from a stream.
- Chemical sensitivity: some strong degreasers can haze plastics, stain aluminum, or dull painted parts if they dry on the surface.
- Heat + chemicals: spraying onto a hot engine can flash-dry product and leave residue, plus the smell is rough.
- Vacuum lines and brittle rubber: older hoses can crack if scrubbed too hard or hit with harsh solvents.
According to the U.S. Environmental Protection Agency (EPA), many household and automotive cleaners contain chemicals that should be handled carefully and kept out of storm drains, so it’s worth planning your runoff and using only what you need.
Quick self-check: is your car a good candidate for DIY engine bay cleaning?
Before you grab a bottle, check your situation. Most people can do a safe, “light degrease” at home, but not every engine bay should be treated the same.
A DIY clean is usually reasonable if:
- You’re dealing with light to moderate oily film and dust, not heavy caked sludge.
- No obvious oil leaks are actively dripping.
- You can work in shade with a cool engine.
- You can rinse with a gentle shower or pump sprayer, not a pressure washer.
Pause and rethink if:
- You see cracked ignition coils, torn boots, or missing covers.
- The battery terminals are heavily corroded.
- You recently had electrical issues, random misfires, or intermittent no-start.
- You can only wash where runoff goes straight into a storm drain.
There’s no shame in keeping it to a wipe-down, a clean-looking bay is nice, but a running car is nicer.
Tools and supplies (what matters, what’s optional)
You don’t need a detail shop kit, but a few choices make the difference between “that was easy” and “why is it still greasy.”
- Water-based engine degreaser (safer on plastics in many cases than harsh solvent blends, still read the label)
- Soft and medium detailing brushes
- Microfiber towels (a few you don’t mind sacrificing)
- Plastic bags or aluminum foil + tape (for covering sensitive parts)
- Low-pressure rinse source: garden hose with shower setting, or a pump sprayer
- Nitrile gloves and eye protection
If you’re deciding between products, this quick table helps:
| Degreaser type | Typical strengths | Typical cautions | Best use |
|---|---|---|---|
| Water-based (alkaline) | Good overall cleaning, usually more plastic-friendly | Can dull bare aluminum if left too long, don’t let it dry | Most modern engine bays |
| Citrus-based | Nice on light grime, smell tends to be easier | Still can stain if overused, may require agitation | Maintenance cleaning |
| Solvent/heavy-duty | Fast on thick grease | Higher risk on rubber/plastics, fumes, flammability concerns | Very greasy areas, spot treatment |
How to clean an engine bay with degreaser safely (step-by-step)
This is the process that tends to work for most drivers who want clean surfaces without turning the job into a science project.
1) Cool down and set up your rinse plan
- Park in shade and wait until the engine is cool to the touch.
- If possible, put a drip pan or absorbent pads under the front, especially if you expect oily runoff.
- Keep your rinse gentle from the start, you’re not “blasting” dirt off, you’re carrying loosened grime away.
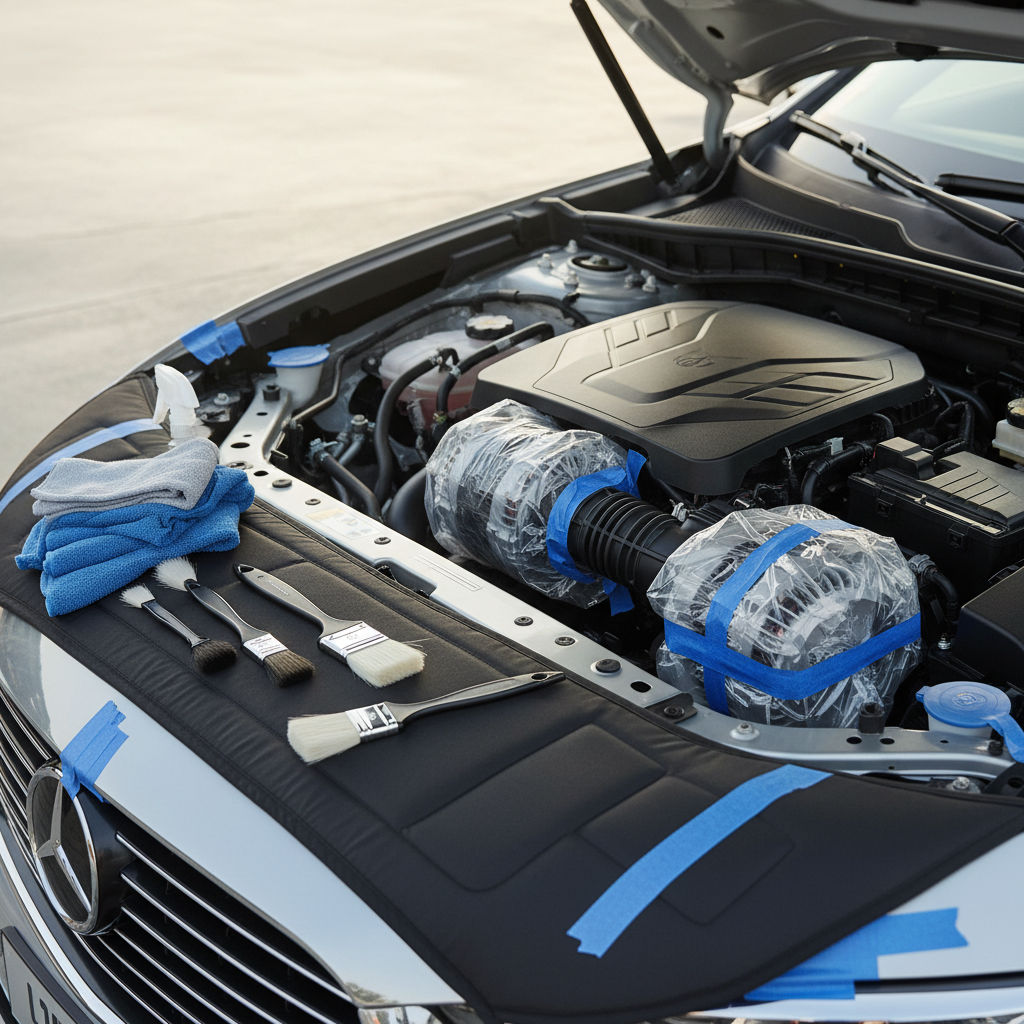
2) Cover the sensitive stuff (don’t overthink it)
Many people go too far here, you don’t need to wrap the entire engine. Focus on parts that combine openings + electricity.
- Alternator
- Exposed aftermarket intakes or open filter elements
- Fuse/relay box seams
- Battery terminals if they’re exposed
If your vehicle has an engine cover, you can leave it on for a lighter clean, or remove it to do a better job around the edges.
3) Dry knock-off first
Use a dry brush or compressed air (if you have it) to remove loose grit and leaves. This step reduces mud when you start spraying.
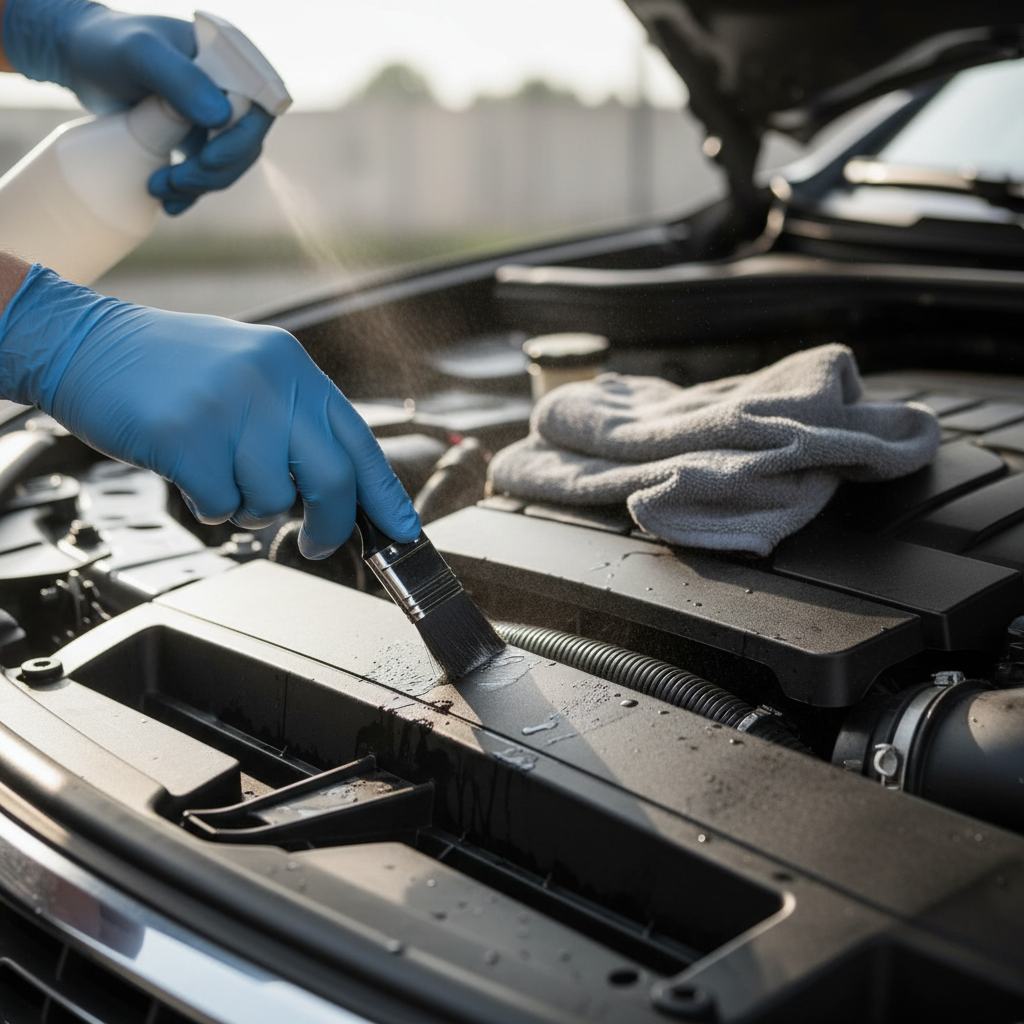
4) Apply degreaser in controlled passes
- Spray onto greasy areas, not everything under the hood.
- Work from the back toward the front so you don’t drag grime over cleaned areas.
- Follow label dwell time, and do not let product dry on the surface.
5) Agitate, gently but deliberately
Use a soft brush on plastic covers and painted areas, save a stiffer brush for metal brackets and textured surfaces. If you hit wiring looms, use light pressure, you’re moving grime, not scrubbing a skillet.
6) Rinse with low pressure and short bursts
- Use a shower setting or a pump sprayer, aim at angles that push water out, not into connectors.
- Rinse, pause, inspect, repeat as needed.
- If you see oily sheen pooling, stop and absorb it instead of pushing it down the driveway.
7) Dry and finish
- Blot with microfiber towels.
- Use compressed air or a leaf blower on low to chase water from crevices.
- Remove covers and check for trapped water.
- Start the engine and let it idle 5–10 minutes, watching for rough idle or warning lights.
When people ask how to clean car engine bay with degreaser and avoid headaches, this last part is usually the difference, drying is not optional.
Real-world troubleshooting: what to do if it’s still greasy
Sometimes you do everything “right” and it still looks blotchy. That usually means one of these:
- Too much product, not enough agitation: wipe and brush more, spray less.
- Dwell time too short: oily film needs a couple minutes, but stay within label guidance.
- Old dressing or silicone: some shiny products attract dirt and resist water, a second pass with a milder cleaner can help.
- Active leak: fresh oil keeps coming back, cleaning hides the symptom but not the cause.
For stubborn spots, switch to targeted cleaning: spray degreaser onto a towel or brush, then work the area, instead of fogging the whole bay.
Common mistakes to avoid (these cause most “engine bay cleaning horror stories”)
- Pressure washing: high-pressure water finds its way into connectors and seals, even when you think you’re being careful.
- Cleaning a hot engine: product flashes off and leaves residue, and burns are a real risk.
- Letting degreaser dry: this is where staining and chalky residue often comes from.
- Soaking the alternator: covering helps, but the bigger win is not aiming rinse at it.
- Using random household chemicals: some can damage plastics or coatings, and fumes can be unpleasant in a closed garage.
- Ignoring runoff: oily water into storm drains can be an environmental issue, use containment when you can.
If you’re learning how to clean car engine bay with degreaser for the first time, aiming for “cleaner than before” beats chasing perfection.
When to get professional help (or at least ask a mechanic)
DIY is fine for maintenance cleaning, but a few situations deserve extra caution.
- Check Engine Light or misfires before cleaning: fixing ignition issues first is often smarter.
- Heavy oil saturation around valve cover, turbo lines, or power steering: a shop can diagnose leaks while cleaning.
- Hybrid/EV high-voltage components: cleaning procedures can vary by model, consult the owner’s manual or a qualified technician.
- You need a deep clean for resale: pros may use steam or controlled rinse systems, reducing moisture risk.
According to the National Fire Protection Association (NFPA), flammable liquids and vapors require careful handling, so if your degreaser is solvent-based or you’re working near fuel vapor areas, ventilation and product choice matter, and a professional detailer may be the safer call.
Key takeaways (save this before you start)
- Cool engine, low pressure, controlled rinse keeps risk down.
- Cover the alternator and obvious electrical boxes, but don’t mummify the whole bay.
- Spray degreaser strategically, then brush, then rinse.
- Drying is part of the job, not a bonus step.
- If grime keeps returning, suspect a leak instead of repeating stronger chemicals.
You can get a noticeably cleaner bay without drama if you keep it calm and methodical. Pick a mild product, work in sections, and treat rinsing like you’re watering plants, not cleaning concrete.
If you want to do it this weekend, the simplest plan is: prep covers, light spray, brush, gentle rinse, dry well, then idle and inspect.
FAQ
Can I use a pressure washer if I keep my distance?
Many times it still creates problems because pressure drives water into seams and connectors. A low-pressure rinse is slower, but usually safer for modern electronics.
Do I need to disconnect the battery before using degreaser?
For light cleaning, many people leave it connected, but if you expect a lot of water near terminals or you’ll be working around exposed wiring, disconnecting the negative terminal can reduce risk. If you’re unsure, a mechanic can advise based on your model.
What parts should I avoid spraying directly?
Avoid direct spray into the alternator, fuse/relay boxes, open air filters, and any visible electrical connectors. Spraying onto a towel or brush gives more control in tight areas.
How long should degreaser sit before rinsing?
It depends on the product, but usually a couple minutes is enough to loosen oily film. The big rule is to follow the label and not let it dry on the surface.
Is steam cleaning safer than rinsing with water?
Steam uses less water and can be effective, but it still introduces heat and moisture, and technique matters. For many DIYers, a gentle rinse is easier to control than a consumer steam unit.
Why does my engine bay look streaky after cleaning?
Streaks often come from residue that dried or from old dressing products reacting with cleaner. A light second pass with mild cleaner and microfiber wiping usually evens it out.
How often should I clean my engine bay?
For most daily drivers, a light clean a couple times a year is plenty, and many people do it only before selling or after repairs. If you drive in dusty or salty conditions, you may want more frequent wipe-downs rather than heavy degreasing.
If you’re trying to keep the job simple, a good next step is setting up a small “engine bay kit” with a mild degreaser, two brushes, and dedicated towels, it makes maintenance cleaning quicker and reduces the temptation to overdo it.