How to polish a car by hand comes down to two things: using the right product for the paint’s condition, and keeping your technique consistent so you improve gloss without adding new haze.
If you’ve ever finished “polishing” only to see the same swirls in the sun, you’re not alone, hand work can absolutely make a car look better, but it’s slower, more sensitive to pressure, and easier to overwork an area.
This guide focuses on practical, repeatable steps, how to pick pads and polish, how to test a section before you commit, and where people usually go wrong so you can avoid wasting an afternoon.
What hand polishing can (and can’t) fix
Hand polishing is mainly about refining the clear coat to improve clarity and reduce light defects. It works best when the paint looks dull, lightly hazy, or has minor swirls that don’t catch your fingernail.
But there are limits. Deep scratches, heavy oxidation, or severe swirling often need a machine polisher, paint correction, or even body work, because your hands can’t maintain the same cut and consistency across panels.
Quick paint-defect cheat sheet
| What you see | Common cause | Hand polish likely? | Better next step |
|---|---|---|---|
| Light swirls in sun | Improper washing/drying | Often, yes | Finish polish + good wash method |
| Gray, chalky paint | Oxidation | Sometimes | Compound by hand or machine, then protect |
| Scratches you feel with a nail | Deeper clear coat damage | Usually no | Professional assessment or targeted correction |
| Water spots | Mineral deposits/etching | Depends | Spot remover or polish test section |
Key point: polish improves what’s in the clear coat. It won’t “fill” missing paint, and it won’t permanently remove defects below the surface.
Tools and products you actually need
You can get decent results with a small kit, but the choices matter. A harsh compound and the wrong applicator can create haze that looks worse than the original swirls.
- Car wash soap (pH-balanced is common) and a microfiber wash mitt
- Clay bar or clay mitt plus clay lubricant (or a dedicated prep spray)
- Foam or microfiber applicator pads (have at least 2–4 so you can swap)
- Hand polish (a finishing polish for light defects, or a light cut polish for moderate defects)
- Microfiber towels (plush for buffing, 6–10 is a safe minimum)
- Panel wipe (optional) to remove polishing oils for a true check
- Protection: wax, sealant, or a ceramic spray
According to 3M... effective paint correction depends on matching the abrasive and pad to the defect level, which is why a test spot beats guessing from the bottle label.
Pad choice in plain English
- Foam applicator: more forgiving, good for finishing and gloss
- Microfiber applicator: more bite, can help with moderate swirls, may haze on softer paint
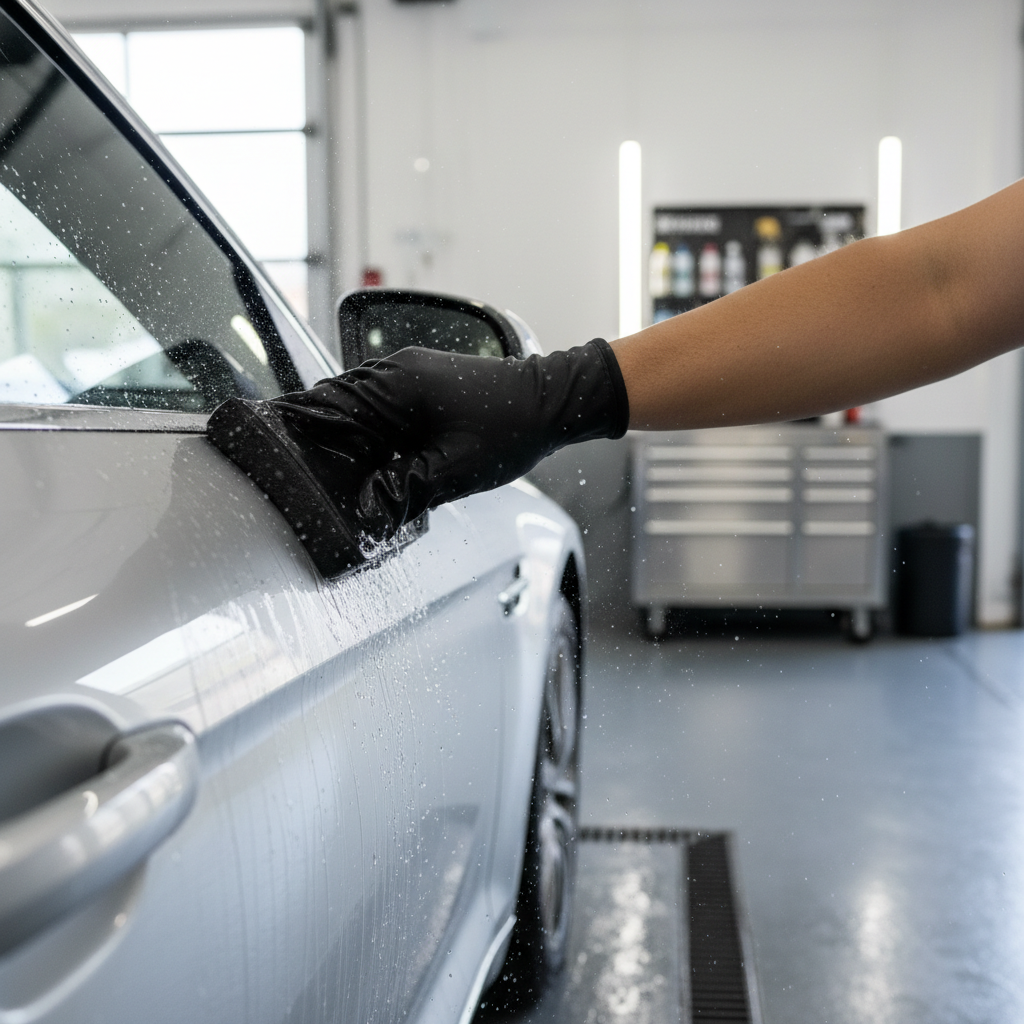
Prep work that makes polishing easier (and safer)
If you skip prep, you end up grinding contamination across the paint, and that’s how people “polish in” new marring. This is where hand jobs usually go sideways.
Prep checklist
- Wash thoroughly, including lower panels where grit hides
- Dry with a clean microfiber, avoid old bath towels
- Clay the paint if it feels rough after washing
- Work in shade on cool paint, especially on dark colors
- Mask textured trim and sharp edges if you’re new to this
Practical tip: run a clean hand inside a thin plastic bag over the paint, if it feels gritty, claying usually helps before you polish.
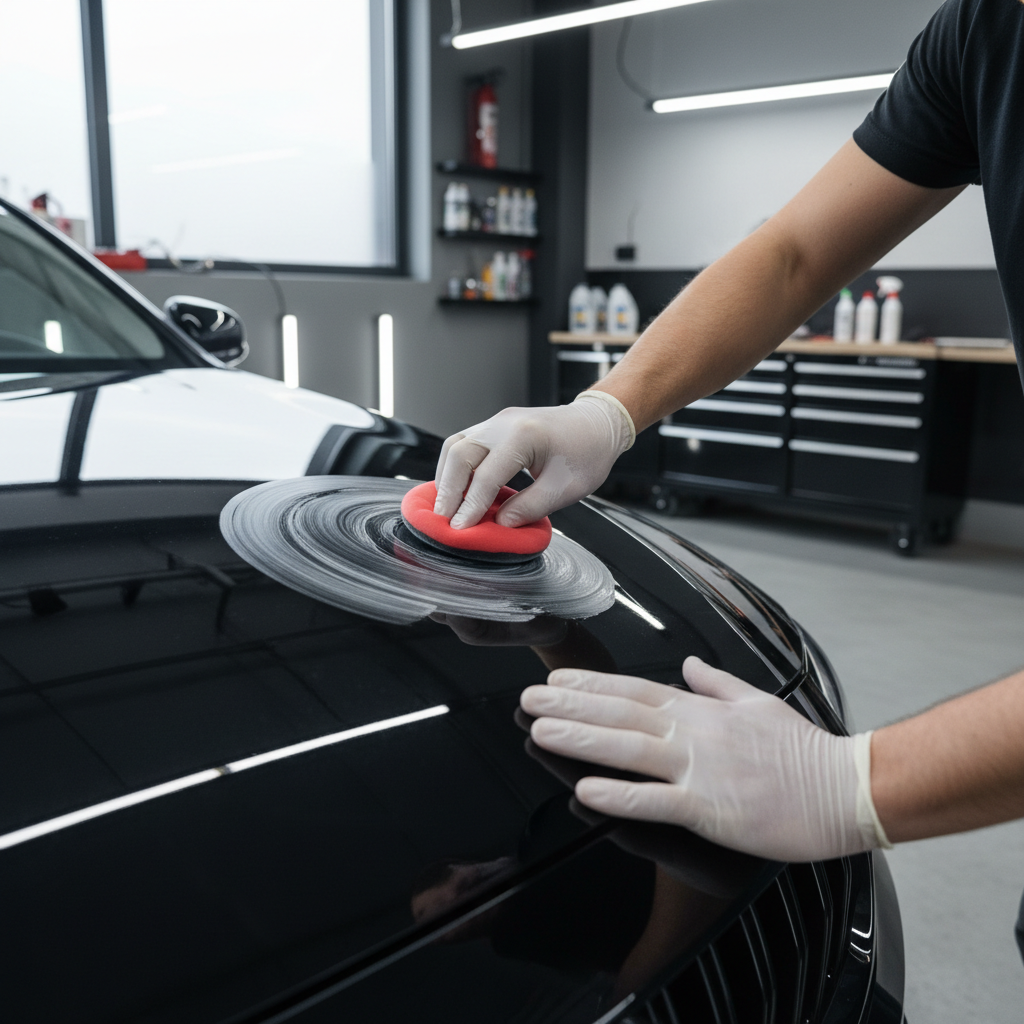
Step-by-step: how to polish a car by hand correctly
How to polish a car by hand successfully is less about brute force and more about controlled, overlapping passes. You’re refining a thin clear coat layer, not sanding a table.
1) Do a small test section
Pick a 2 ft x 2 ft area on the hood or trunk. This is where you decide pad and polish strength without committing to the whole car.
- Start with the least aggressive polish and a foam pad
- If improvement is minor, step up to a slightly stronger polish or a microfiber pad
- If it hazes, step back down and focus on technique
2) Prime the pad and use the right amount
Add a few pea-sized drops. Too much product tends to gum up, dust, and make wipe-off harder.
- Spread polish lightly across the section before applying pressure
- Keep a second clean pad ready, once a pad feels saturated, swap
3) Work in tight, overlapping passes
Use moderate pressure at first, then lighten up near the end. Move your hand slowly, fast rubbing often does less than you think and can unevenly finish the paint.
- Use a crosshatch pattern: left-to-right, then up-and-down
- Keep the pad flat so you don’t “dig in” on edges
- Do 4–6 slow passes per section as a starting point
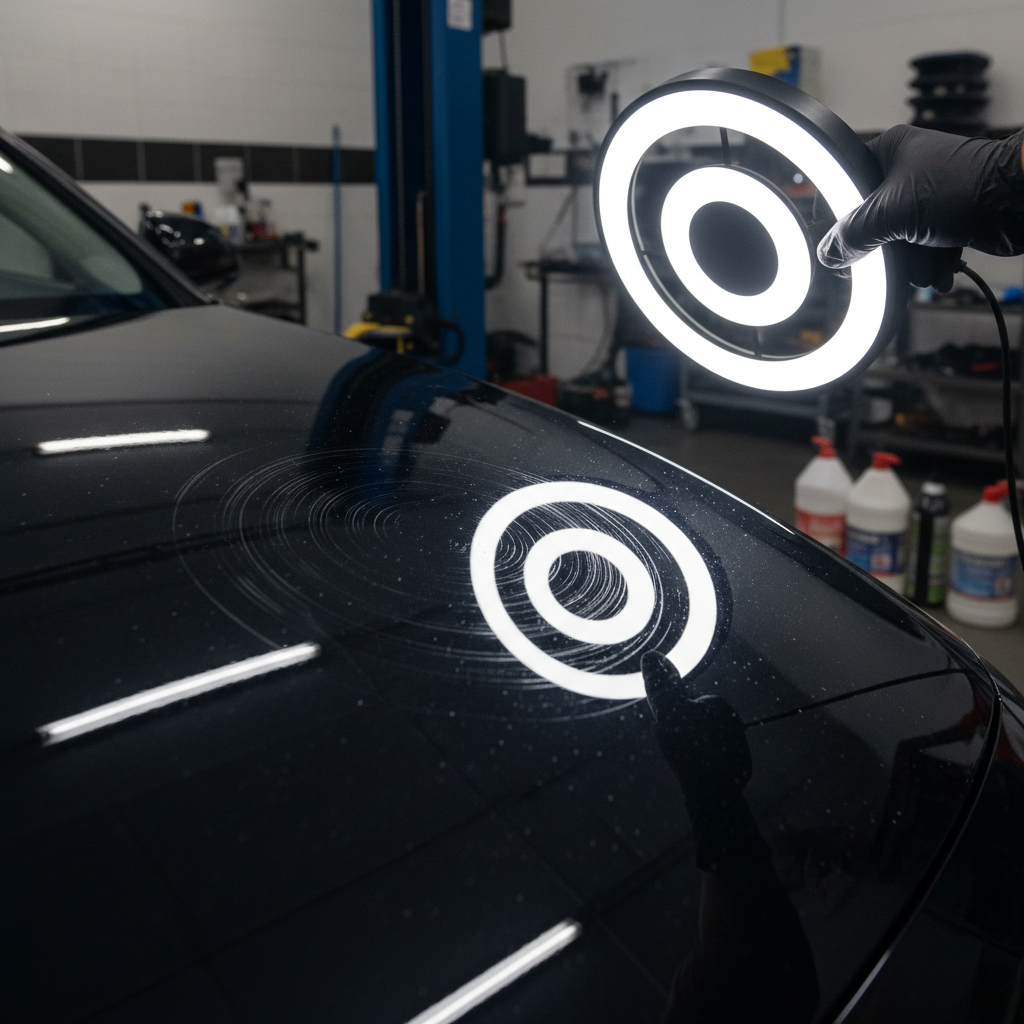
4) Wipe off and inspect correctly
Buff residue with a clean microfiber towel. If you can, inspect under bright light from different angles, your driveway sun check is often more honest than garage lighting.
- If residue smears, you may be using too much product or the paint is still warm
- If defects “disappear” then come back, polishing oils may be masking them, a panel wipe can help confirm
5) Repeat panel-by-panel, not spot-by-spot
Once the test section looks good, repeat the same combo across one panel at a time. Consistency matters more than chasing every last mark.
Common mistakes that waste time (or make paint look worse)
Most disappointment comes from a few predictable issues. If you fix these, results typically jump without buying more products.
- Skipping decon: polishing over embedded grit can add micro-scratches
- Working too large an area: polish flashes, dries, then wipe-off turns into a fight
- Using a dirty pad or towel: contamination reintroduces swirls immediately
- Going aggressive too soon: stronger cut can haze, especially on softer clear coats
- Polishing in direct sun: product can bake on, increasing marring risk
Reality check: hand polishing can reduce swirls, but it rarely produces the same correction level as a dual-action machine, expectations should match the method.
After polishing: protect the finish so it stays glossy
Polish leaves paint more exposed, because you’ve cleaned and refined the surface. Protection is what keeps that “just polished” look from fading after a few washes.
- Wax: warm glow, usually shorter durability
- Sealant: crisp shine, often longer durability
- Ceramic spray: easy application, good water behavior, durability varies by product
According to Meguiar’s... protection after polishing helps preserve the finish and makes routine washing easier, which indirectly reduces new swirl marks.
Simple protection routine
- Apply your protectant on cool paint, one panel at a time
- Use a fresh towel for final buffing
- Maintain with gentle washing and a drying aid if you like that extra slickness
When to stop, and when to consider professional help
If you’ve done two or three attempts on a test section and defects barely change, continuing by hand often turns into frustration. At that point, you may need a machine polish, a more appropriate pad and polish system, or a pro detailer’s evaluation.
- Scratches that catch a nail, or primer showing through
- Severe water spot etching that doesn’t respond to a mild polish
- Unusual paint behavior: instant hazing, streaking, sticky wipe-off across panels
Also, if you’re working with a freshly repainted panel, it’s smart to ask the shop about cure time, product choice, and safe washing, paint systems vary and advice should match that finish.
Conclusion: a clean process beats a “stronger” product
How to polish a car by hand is really a process: prep the paint, test a small area, work small sections with consistent pressure, then lock it in with protection. You don’t need to chase perfection to get a noticeable jump in gloss.
If you want one action step, do a test section on the hood with a finishing polish and foam pad, inspect in sunlight, then decide whether the full car is worth the time by hand or better with a machine.